Tongariro Alpine Crossing
80+ photos from a February 2024 hike.
The Tongariro Alpine Crossing is variously known as New Zealand’s Best One-Day Trek / New Zealand’s Greatest Day Walk / a Top Ten Single-Day Trek in The World, and in this post you’ll see 80+ photos from a fine day on the trail in February 2024, with some info on the area and comments on the various sections of the hike included for your perusal.
Contents
- Tongariro National Park info
- Brief hike info
- Mangatepopo Valley
- Soda Springs and Devil’s Staircase
- South Crater
- Red Crater
- Tongariro summit track (just the first part)
- Emerald Lakes
- Central Crater and Blue Lake
- Ketetahi Track
- How to do it yourself (maybe?)
Photos: Leica D-LUX 5, iPhone SE OG, and a couple of shots from HJ’s iPhone.
Tongariro National Park
Tongariro National Park is New Zealand’s oldest national park. It was established in 1887 and is one of the first six national parks in the world.
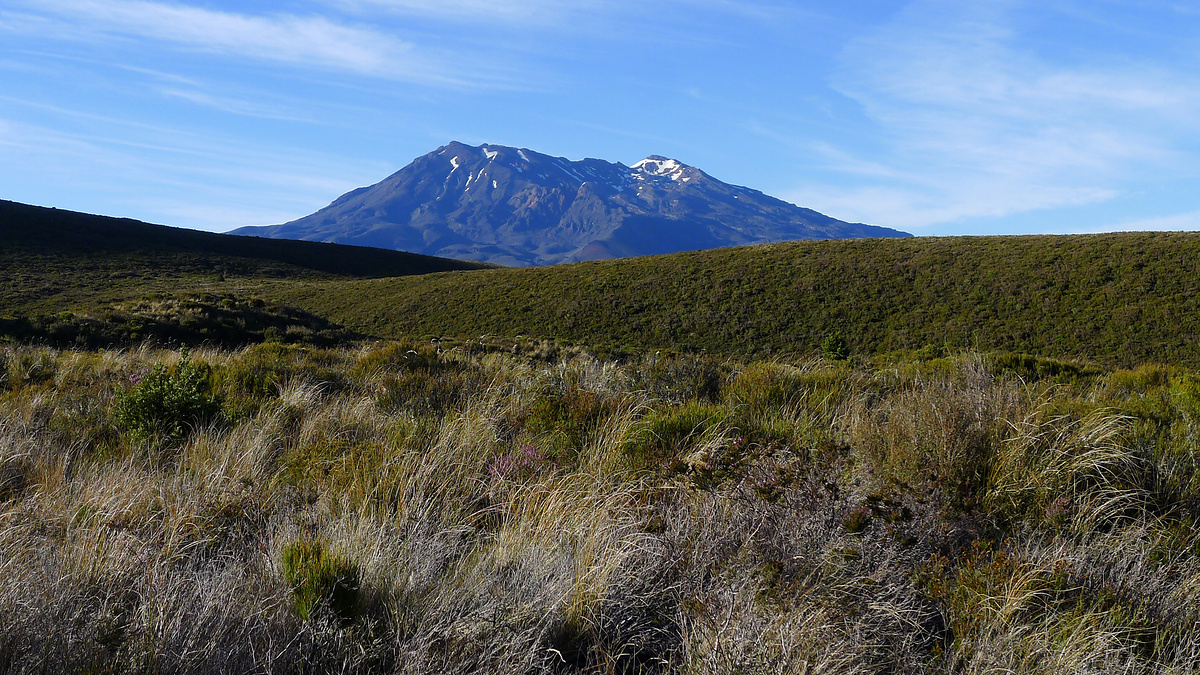
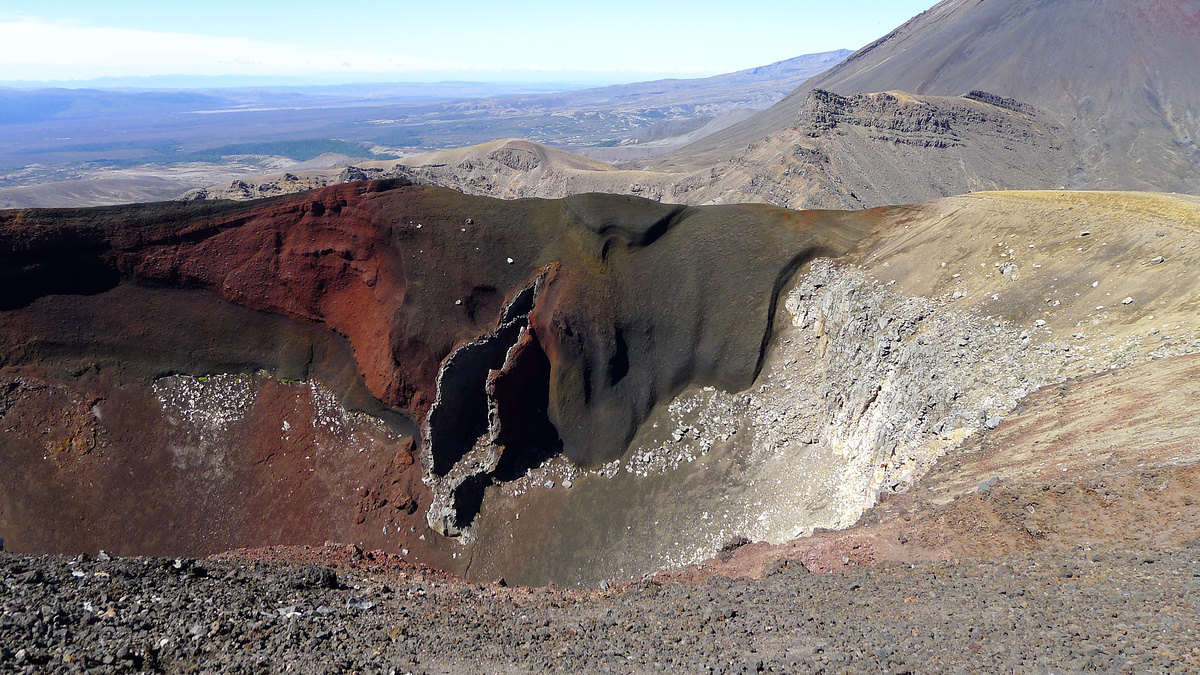
Inside the boundaries of the park are Mount Ruapehu, Mount Tongariro, and Mount Ngauruhoe—all three of which are active volcanoes.
The most recent eruption (at the time of writing) was in 2012, from the Te Māri craters on the eastern slopes of Tongariro. Red Crater currently contains fumaroles, and erupted a little bit in 1926. Ngauruhoe’s most recent eruption was in 1977, unless we’re including the CGI from the Lord of the Rings movies. Solidified lava flows and other volcanic debris can be seen near the trail throughout much of the hike.
The land that makes up the park area belonged to the Ngāti Tūwharetoa tribe, and the peaks of the mountains are considered sacred.
Hiking the Tongariro Alpine Crossing
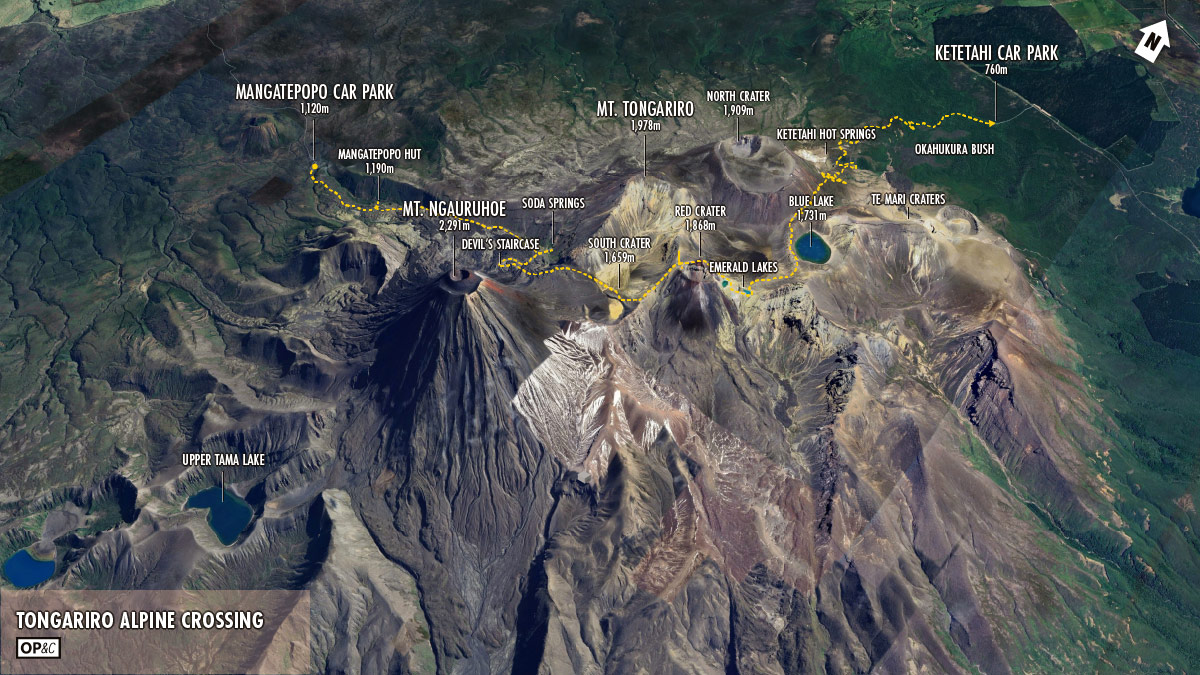
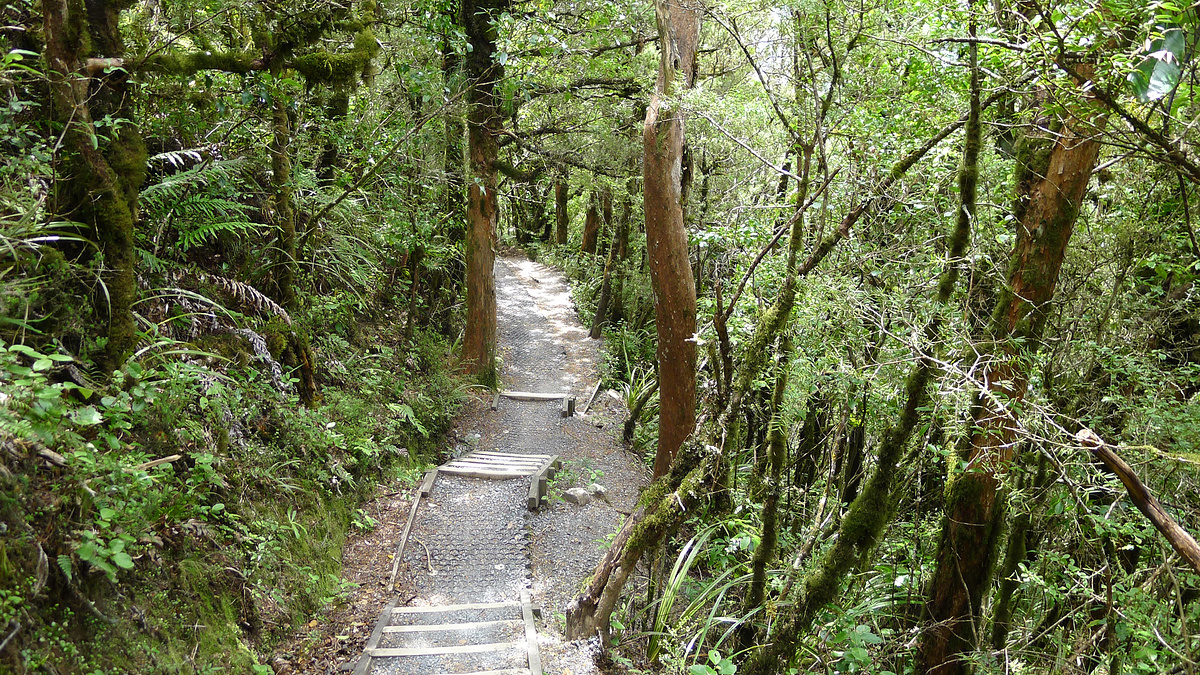
The hike starts in the Mangatepopo Valley and climbs to cross the volcanic craters between the peaks of Mount Ngauruhoe and Mount Tongariro, topping out on the northern rim of Red Crater, and then passing several crater lakes before finishing with the long walk out by Ketetahi Hot Springs and through the Okahukura Bush.
It’s a somewhat difficult hike to do. Not physically difficult (if you’re in decent shape), but because a) it’s an A-to-B track, which makes the transport tricky, and b) the weather can get rather dirty at very short notice, which means the shuttle services will cancel for safety reasons (also at very short notice).
Hike stats: it’s 20km from Mangatepopo car park to Ketetahi car park, starting at an elevation of 1,120m and finishing at 760m, with 1,150m of ascent, 1,520m of descent, and a 1,868m peak.
The Tongariro Alpine Crossing information on the Department of Conservation website is clear and comprehensive.
We (me, HJ, HW) did the hike on a sunny day in February, 2024.
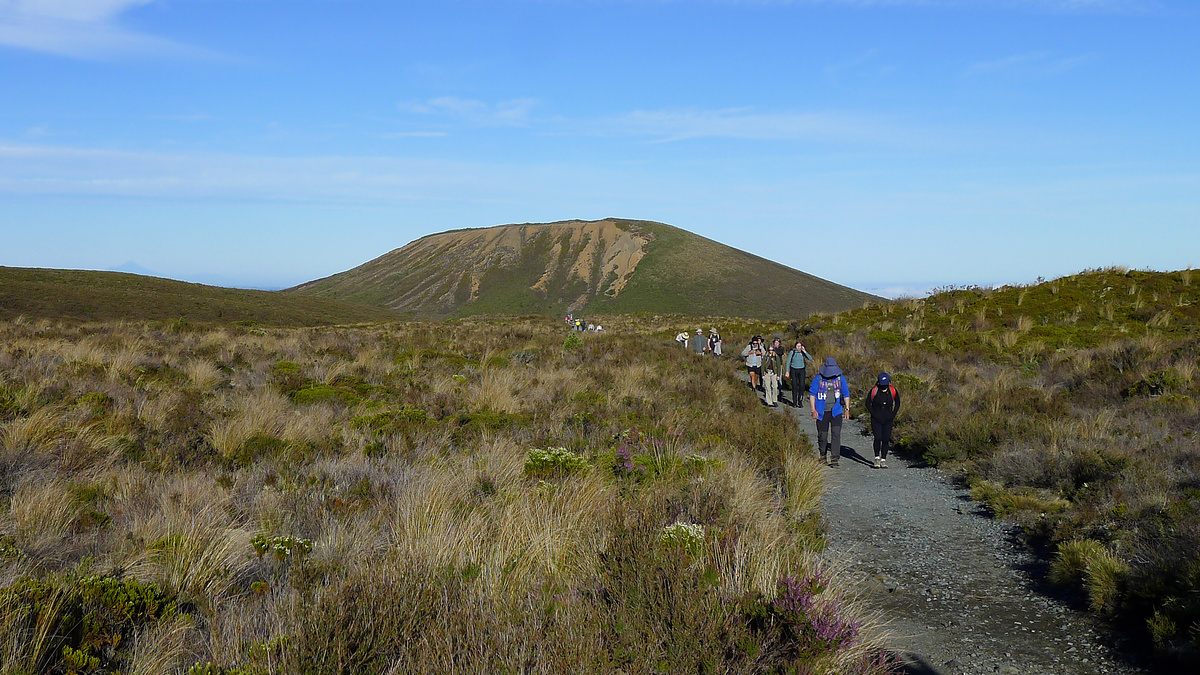
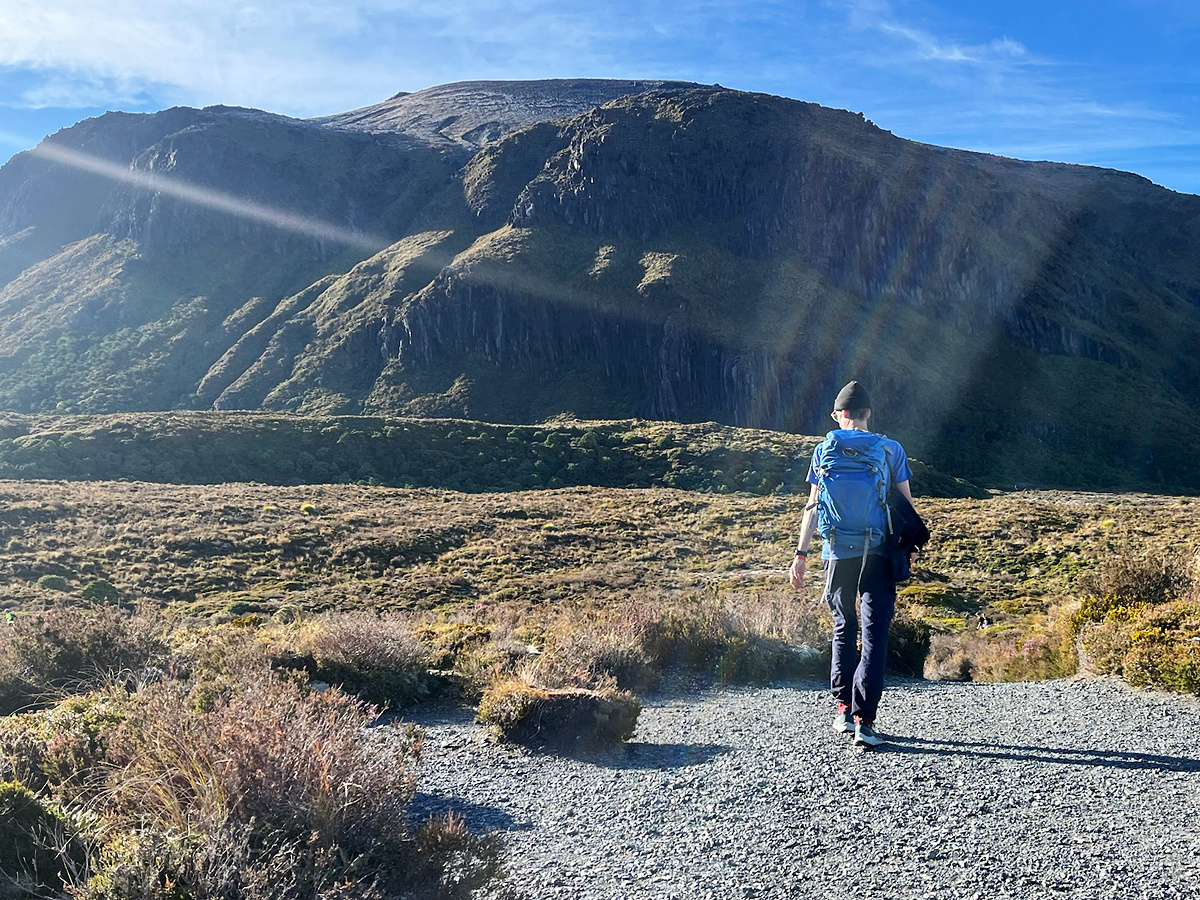
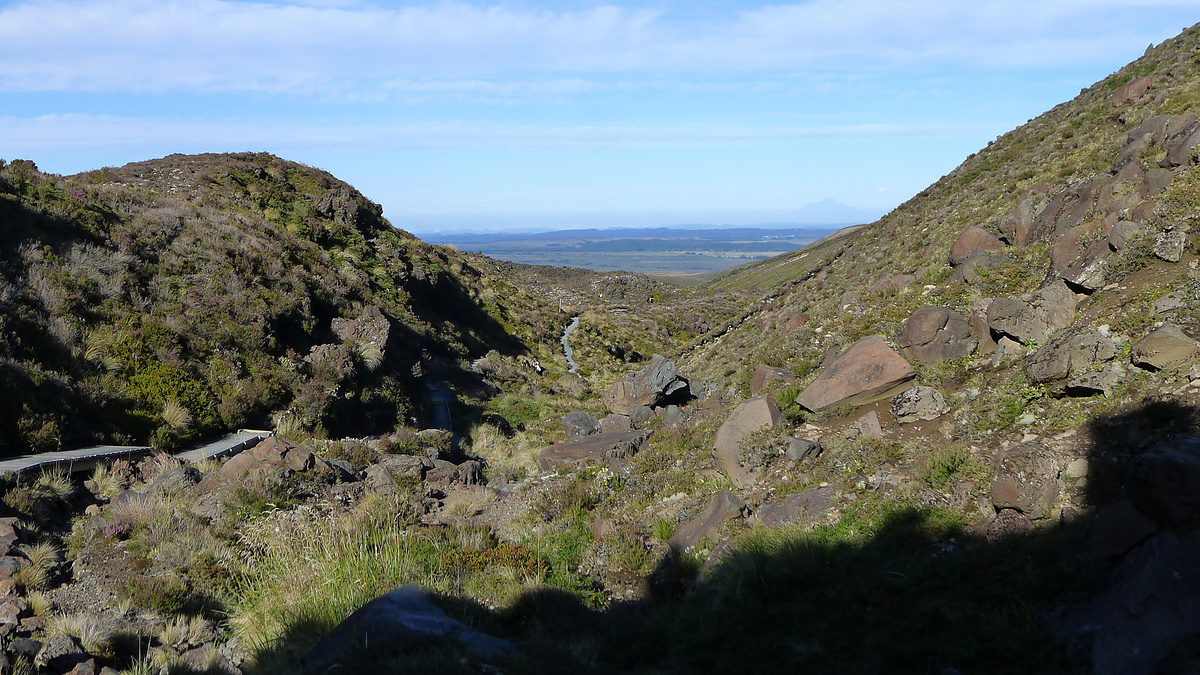
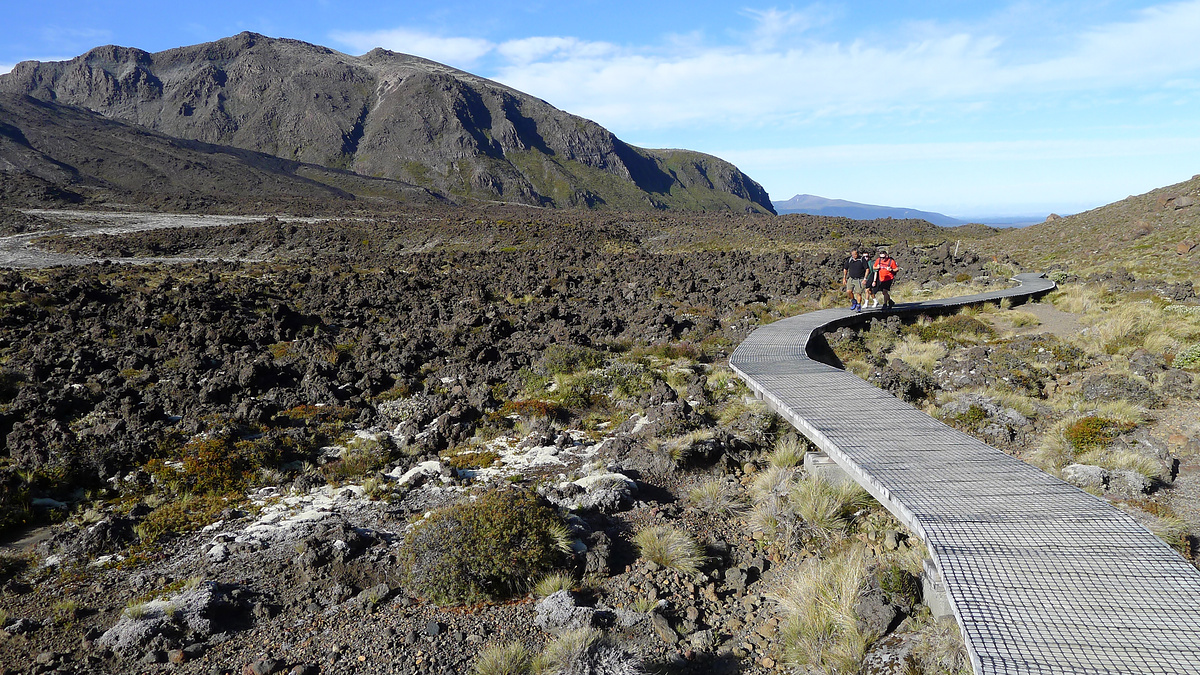
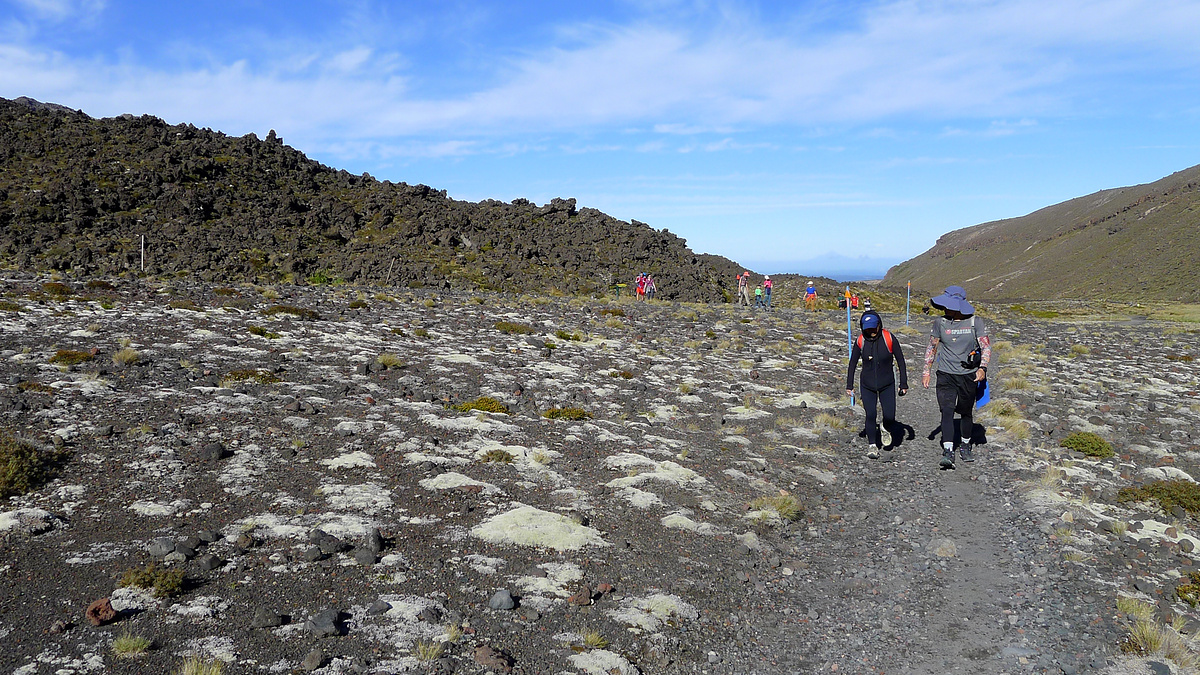
Mangatepopo Valley
This is the easy part of the crossing, a slowly rising trail up the previously glacier-filled Mangatepopo Valley. This section of the trail is sometimes recommended as an day walk on its own—5km from the carpark to Soda Springs and just 280m of elevation gain, with excellent views of Ngauruhoe, lava flows, and scoria fields.
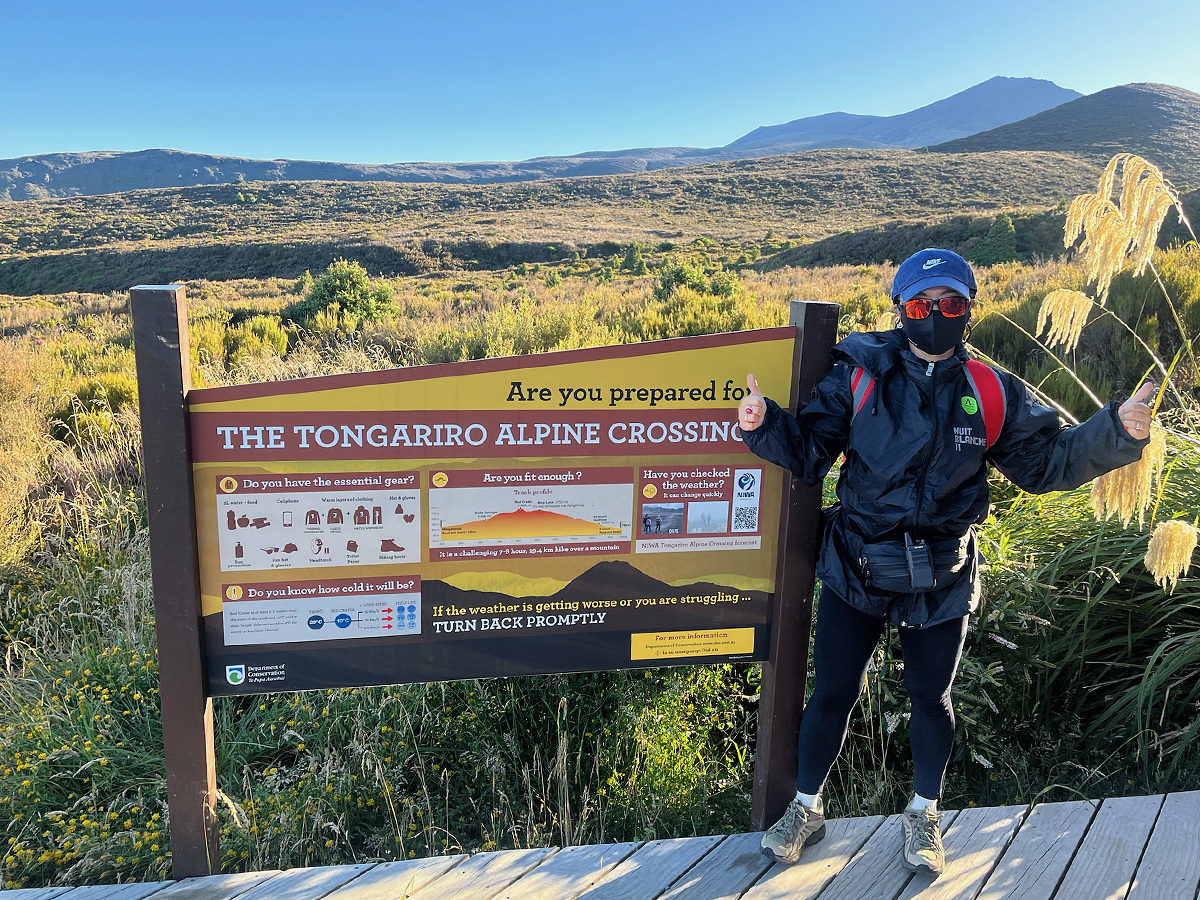
Toilets are available at the car park, as well as a sign to take a selfie with.
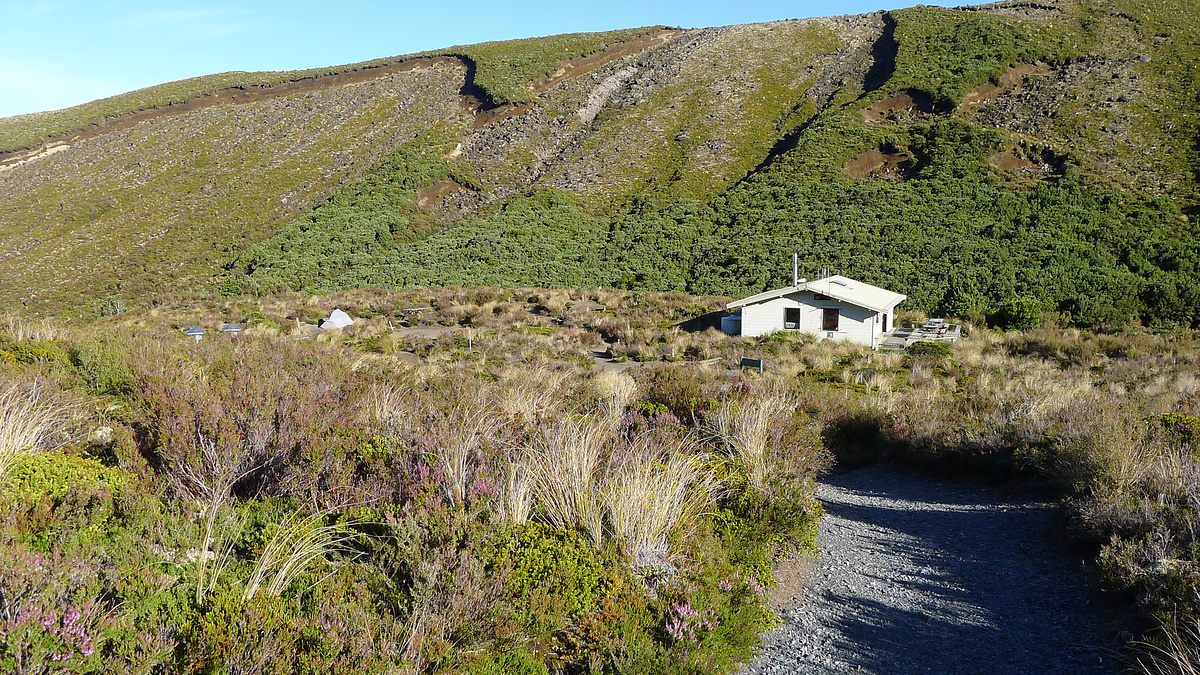
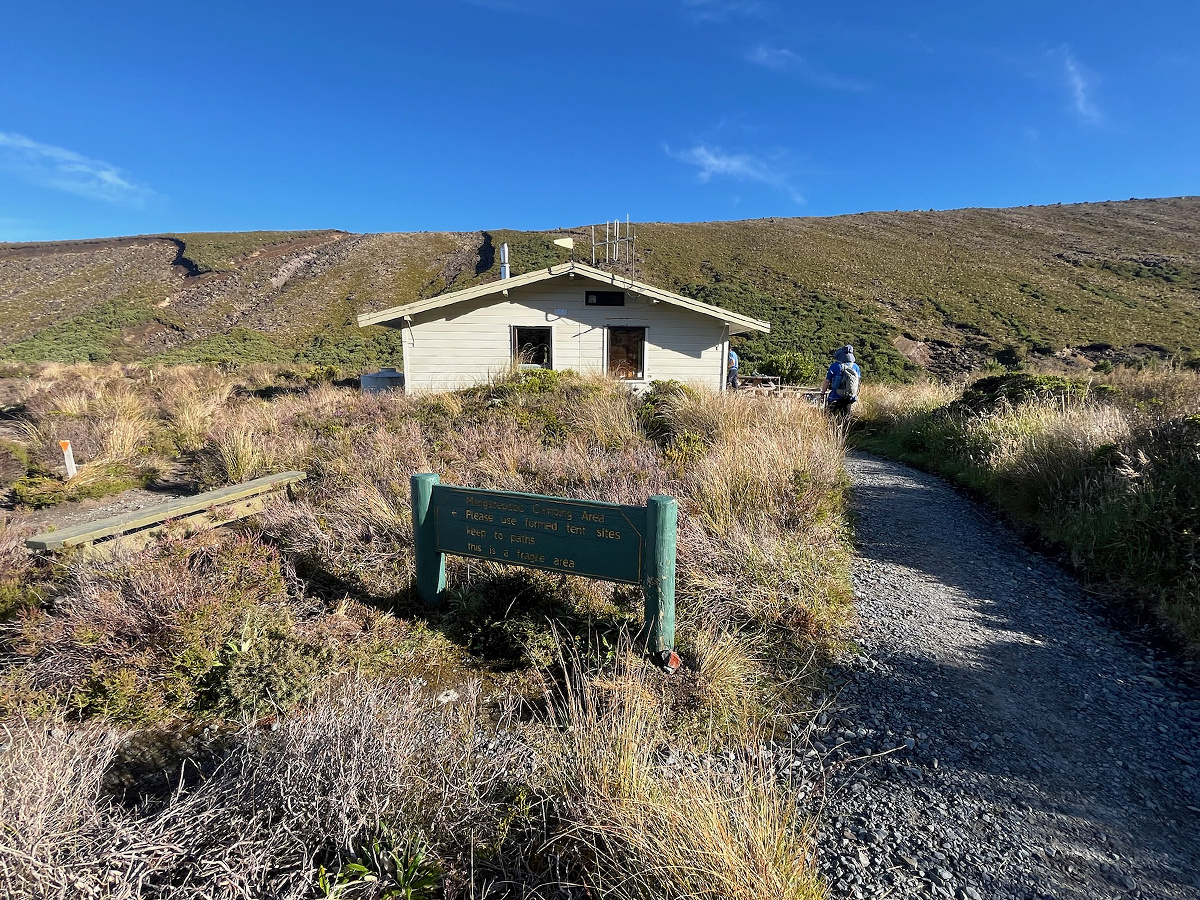
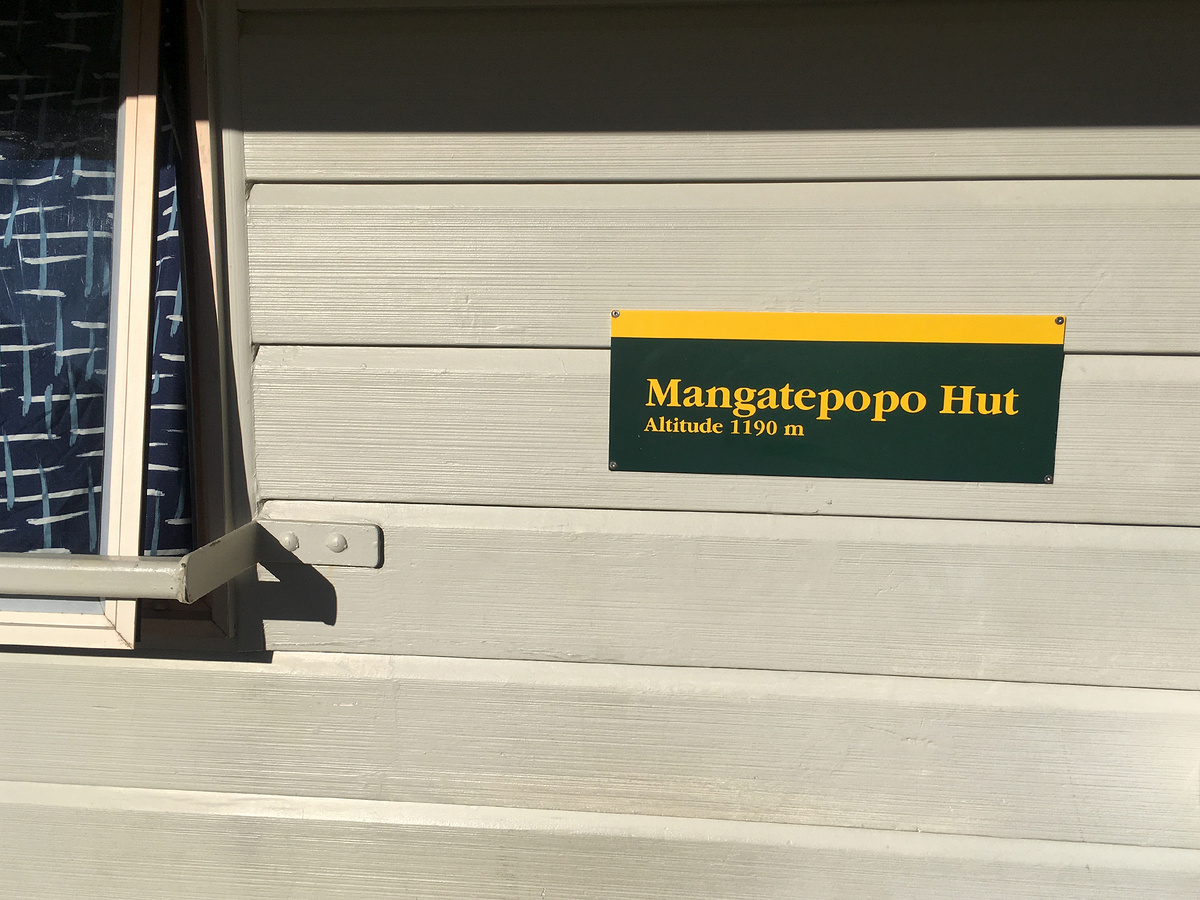
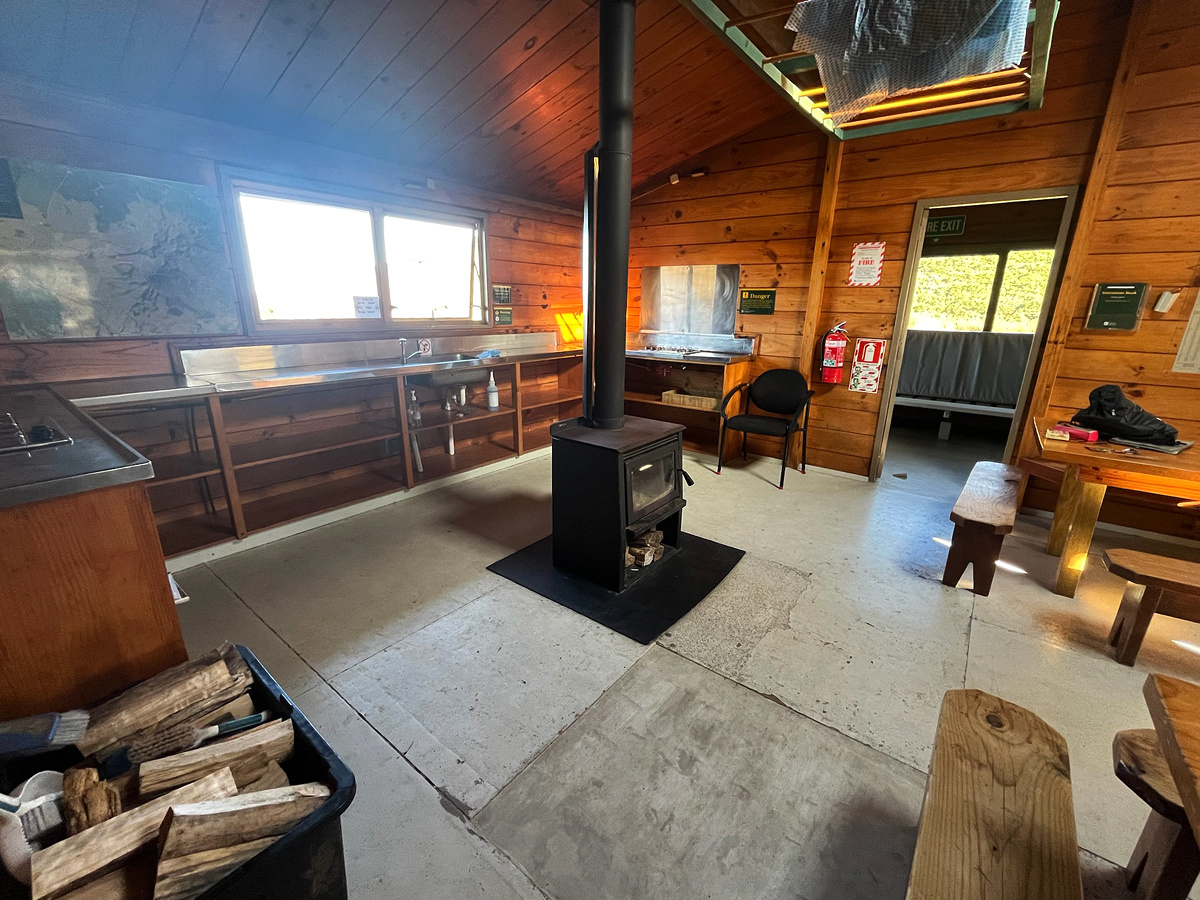
On our way up to Soda Springs we stopped to take a look at Mangatepopo Hut, where I’d once spent a night on a school trip while doing the Northern Circuit track.

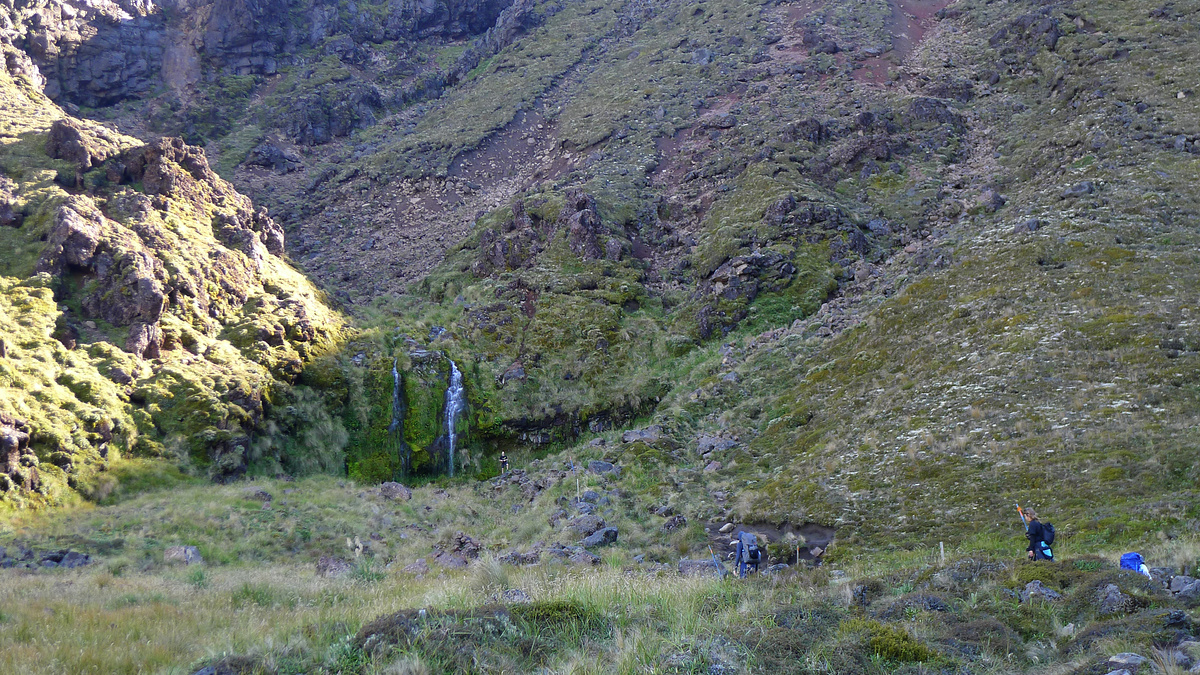
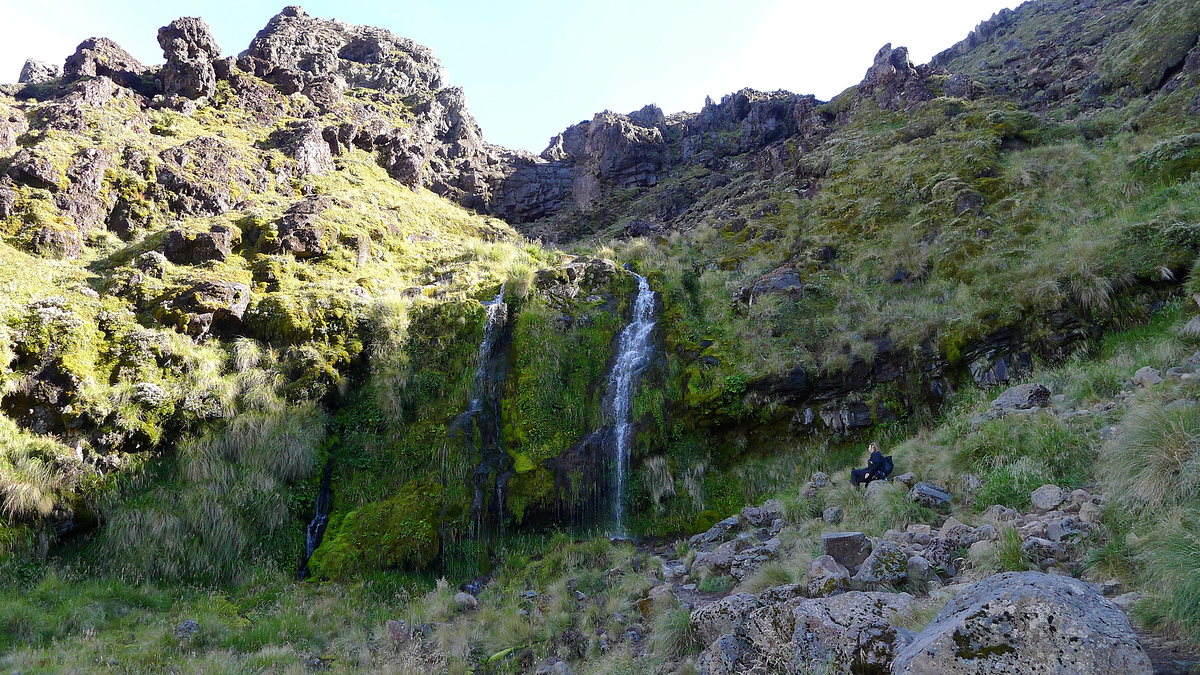
Soda Springs and Devil’s Staircase
Soda Springs is a small waterfall fed by a cold water spring, and is reached with a short detour off the main track.
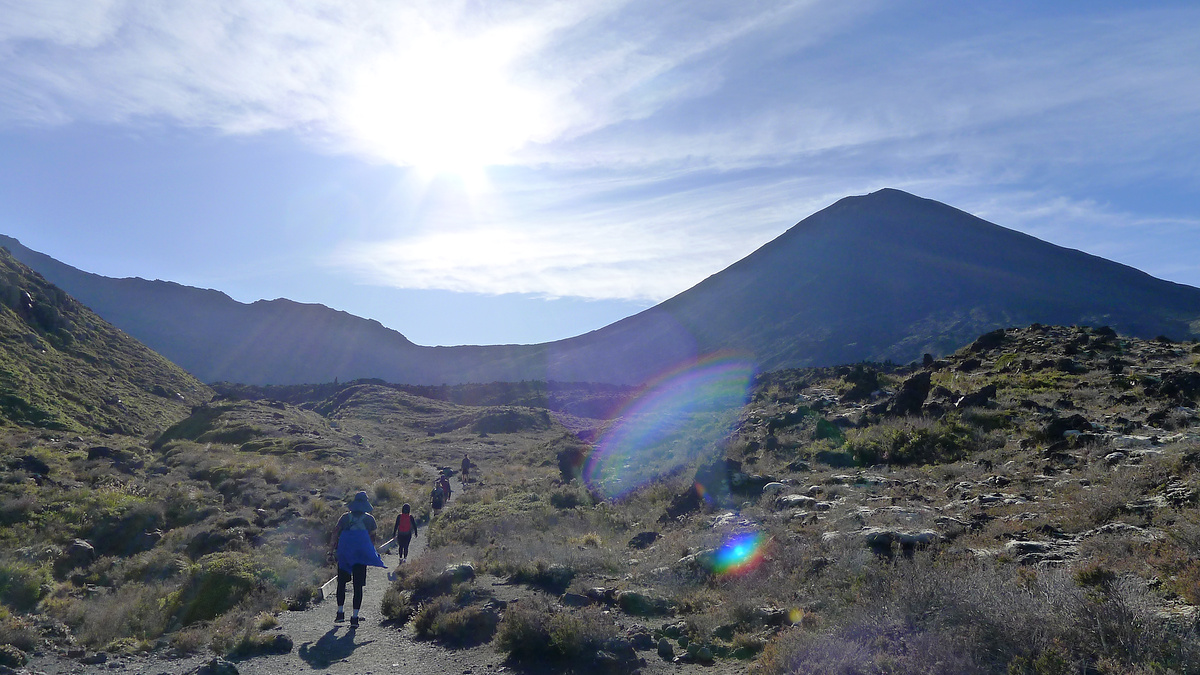
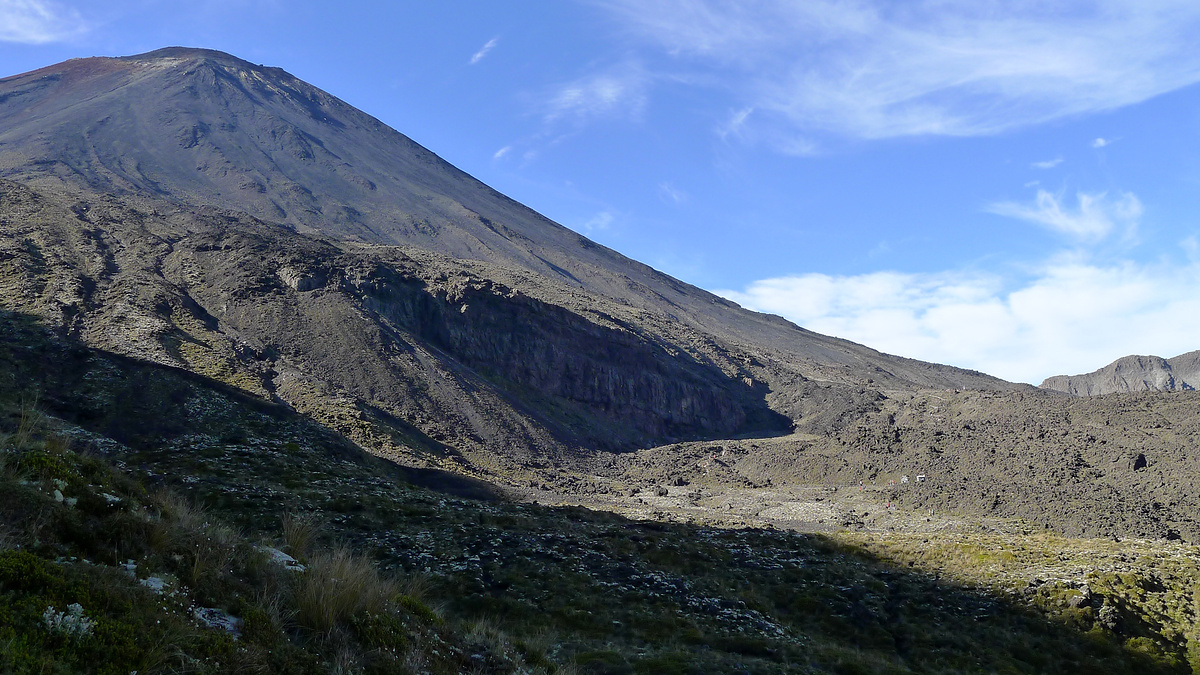
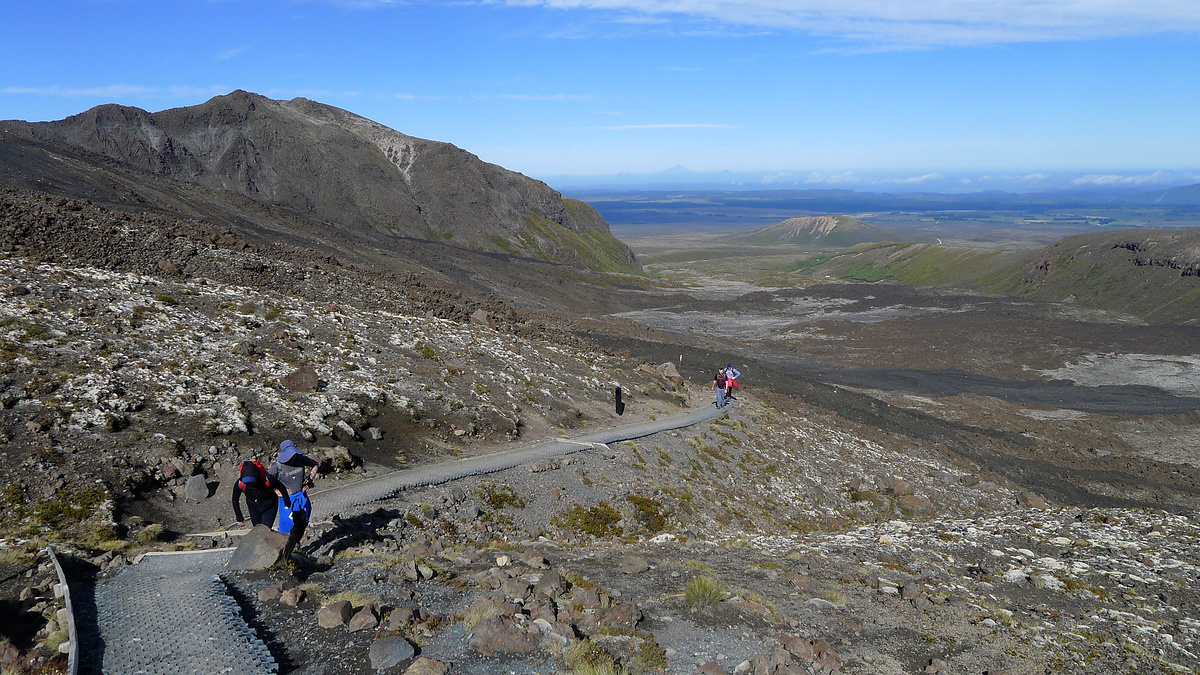
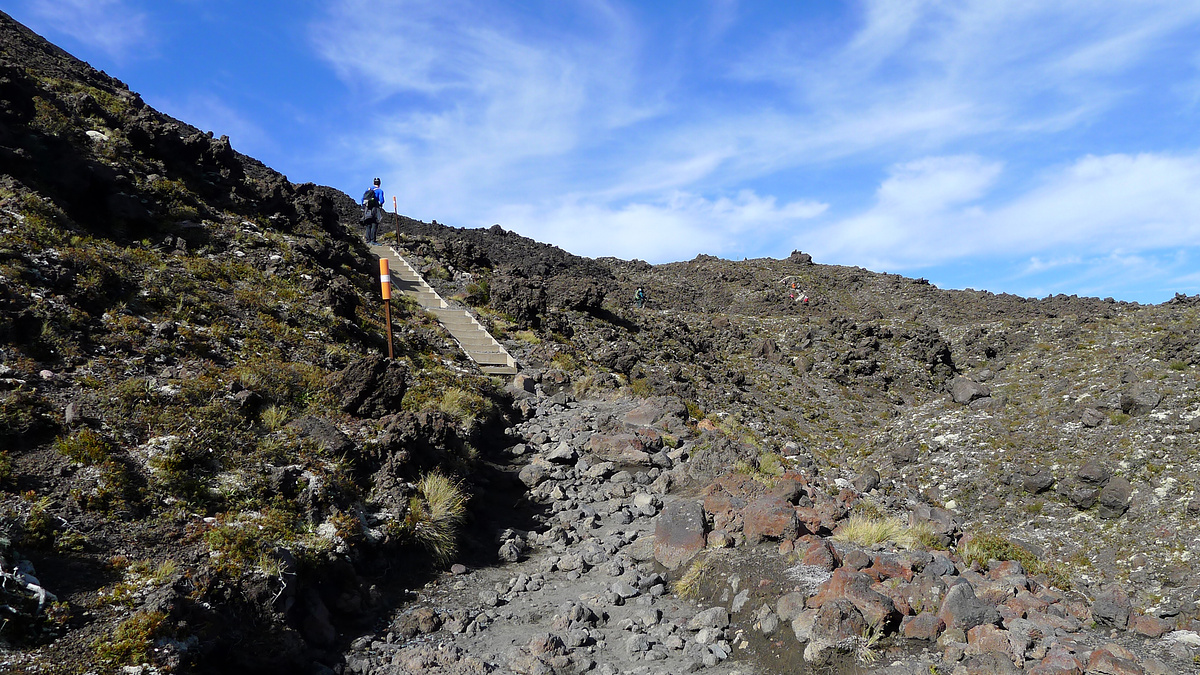
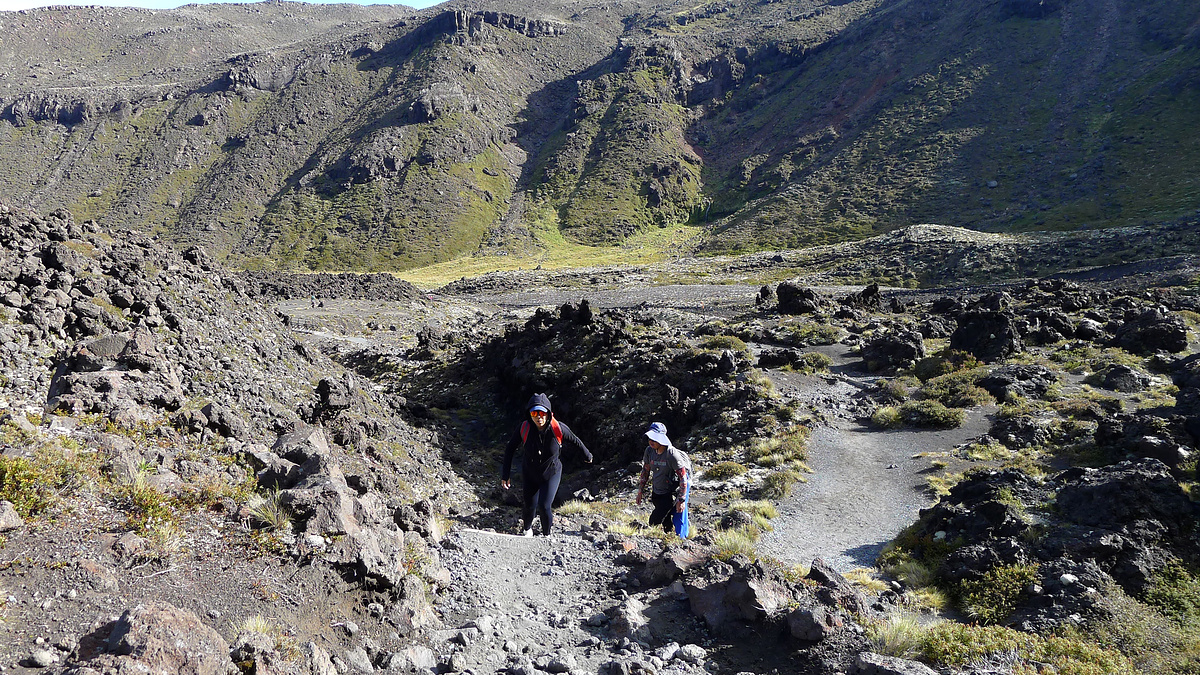
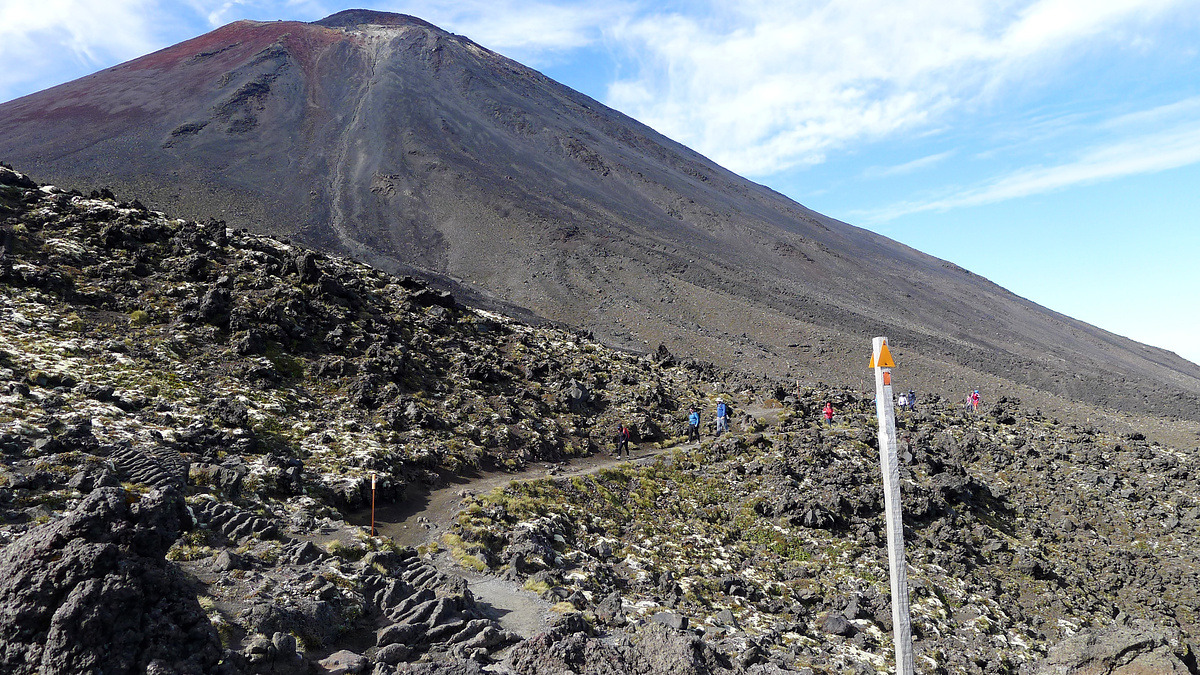
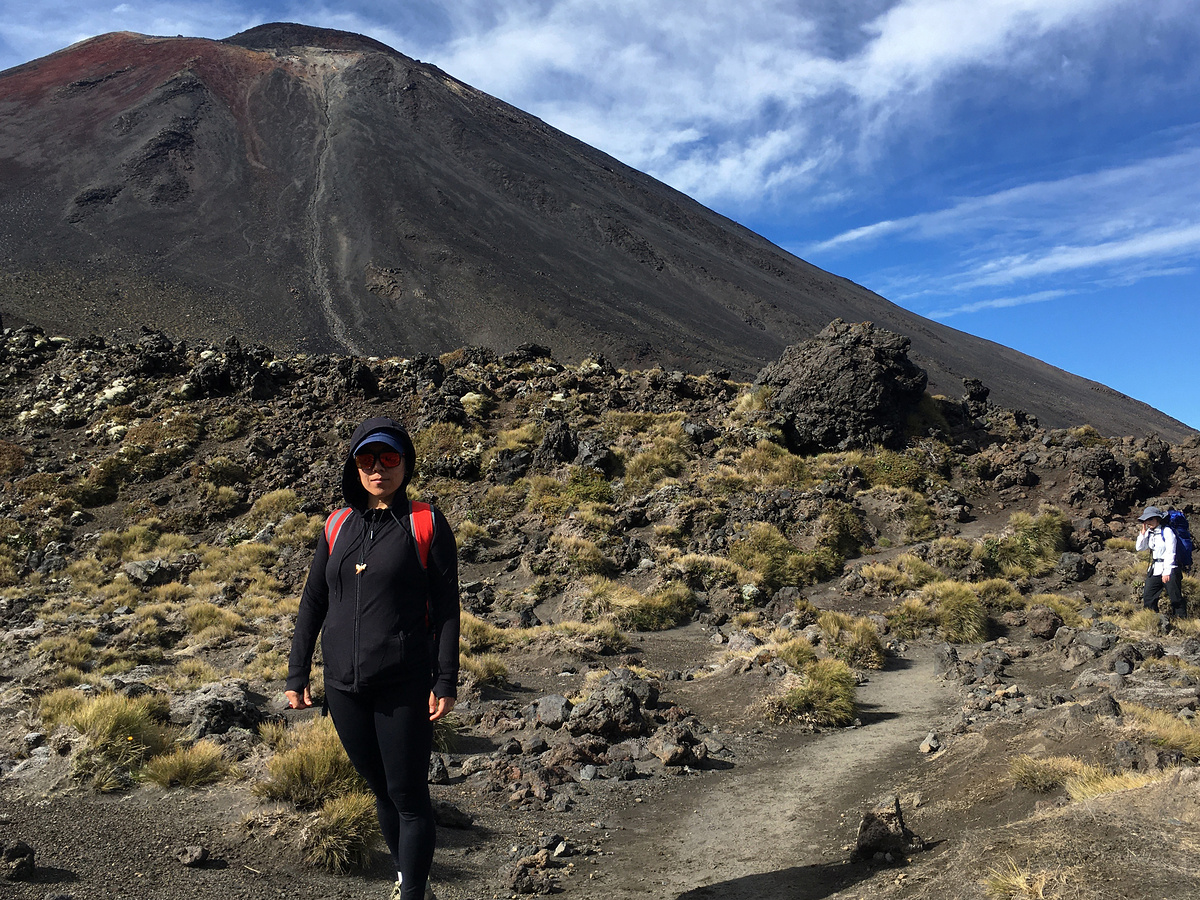
After a look at the springs you’re on to the Devil’s Staircase, a fairly big climb that traverses a ridge on the way to South Crater.
The Devil’s Staircase is the main climb on the hike, with 300m of elevation gain over 2km of track, starting at about 1,370m by Soda Springs and getting up to 1,670m by the entrance to South Crater.
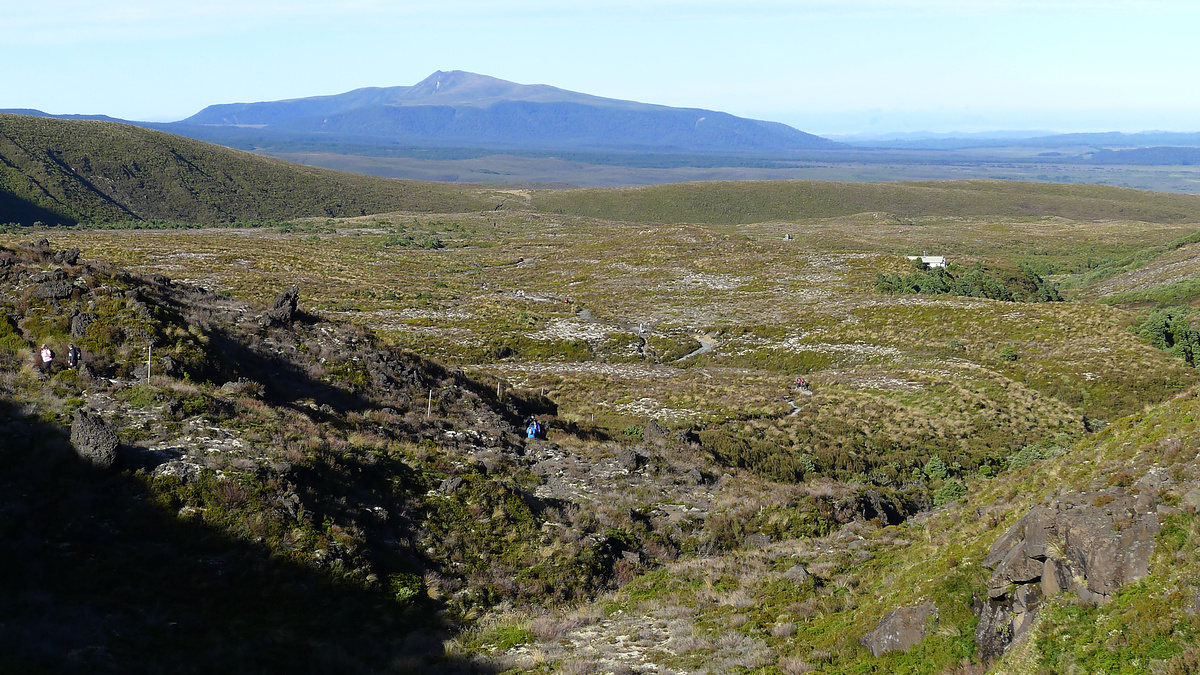
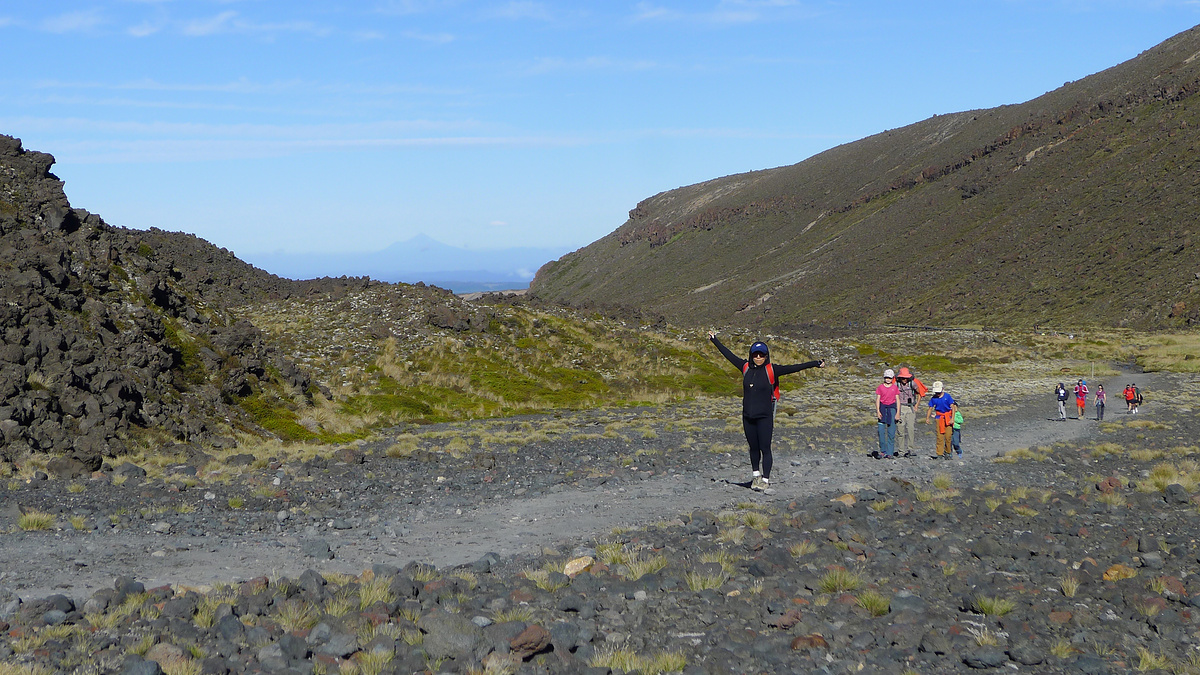
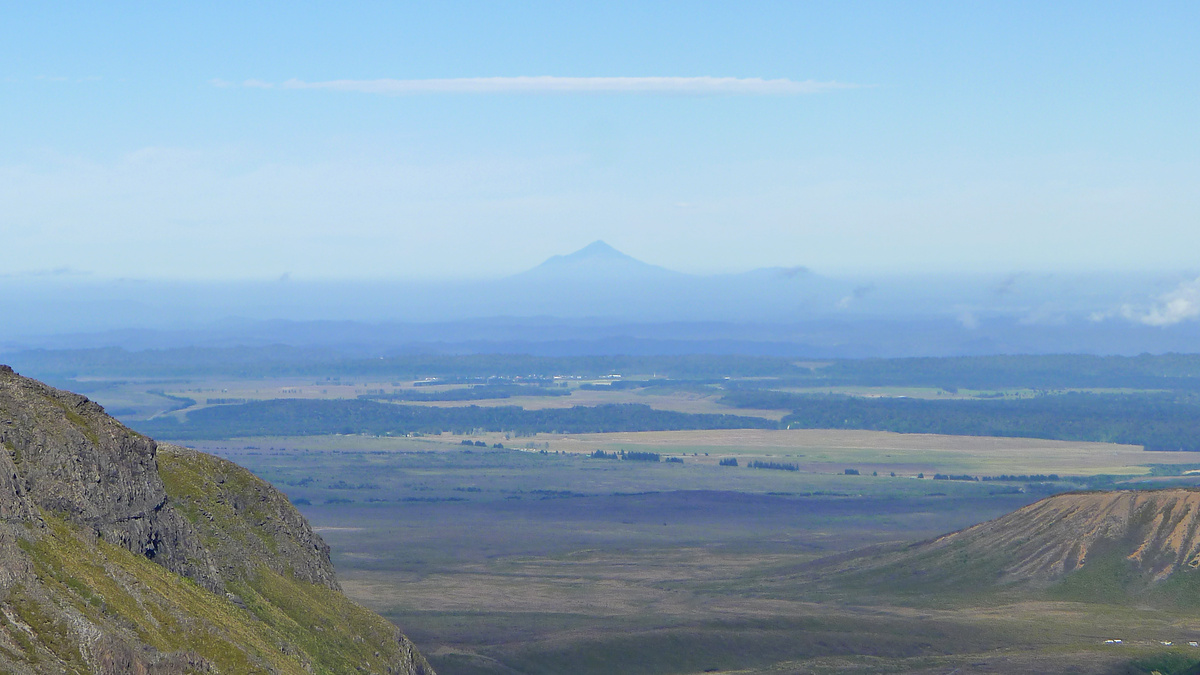
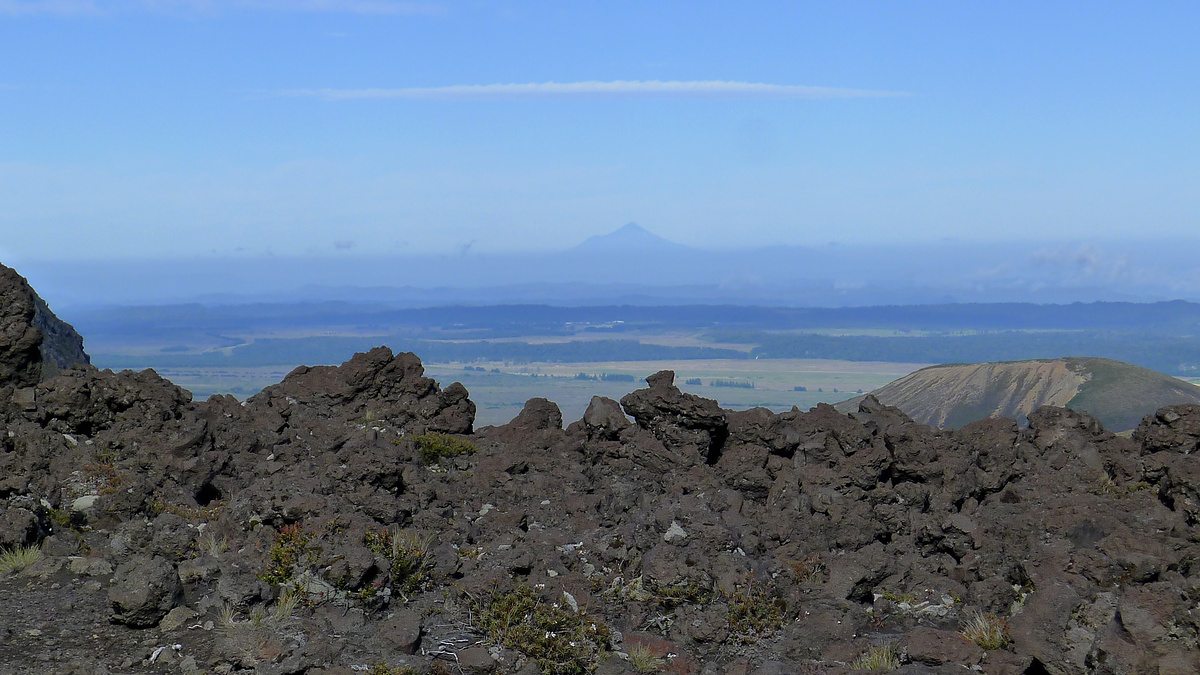
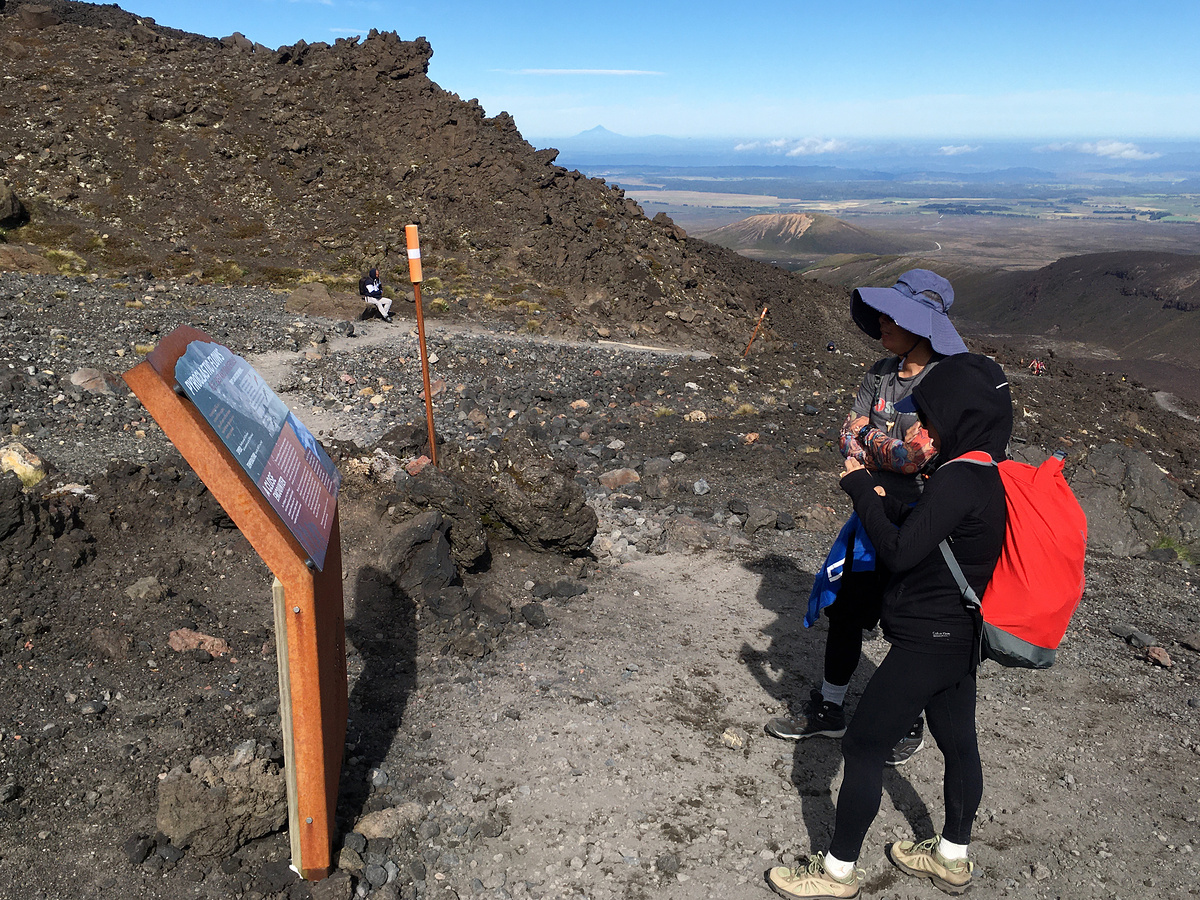
On the way up you’ll have great views of Ngauruhoe and the Mangatepopo Valley. If it’s clear you may catch a view of Mount Taranaki, New Zealand’s other cone-shaped volcano, which is about 140km to the west of Tongariro.

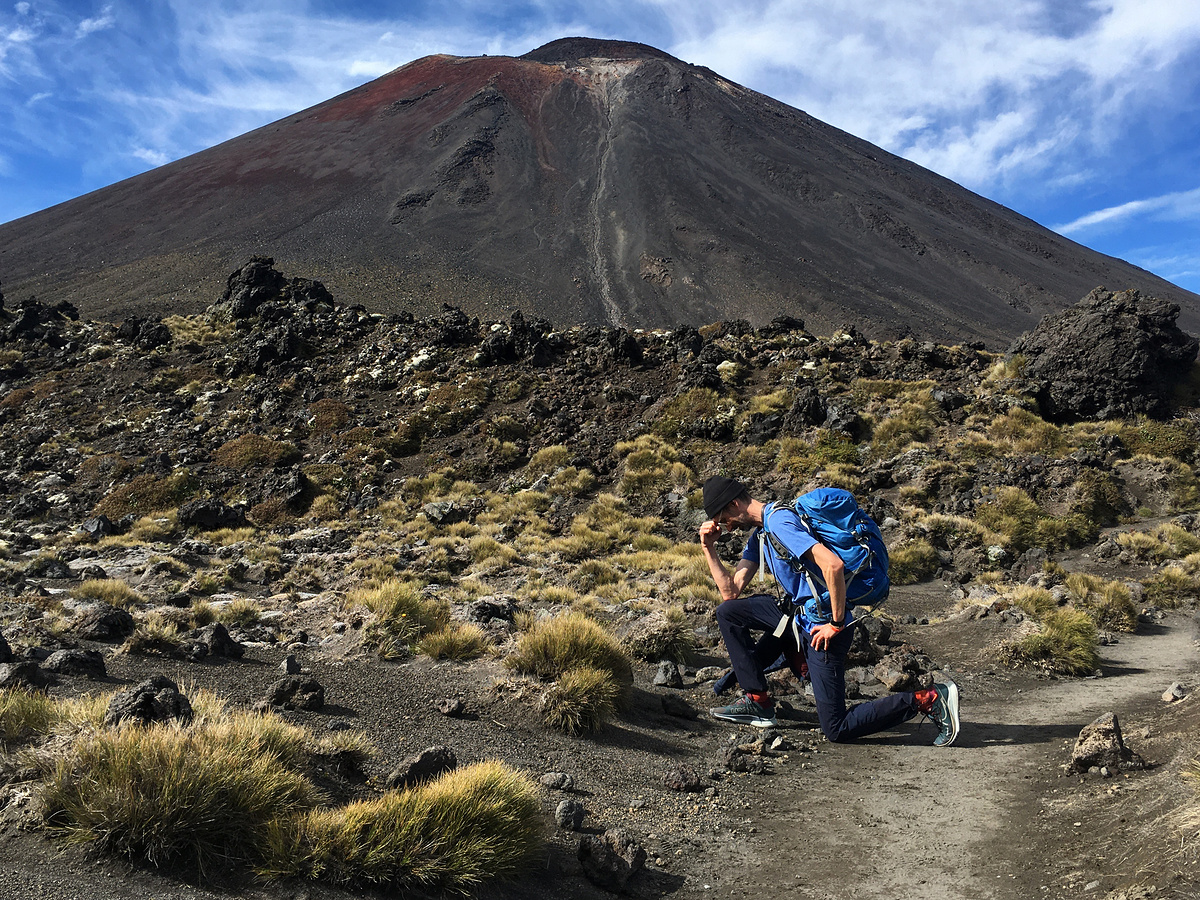
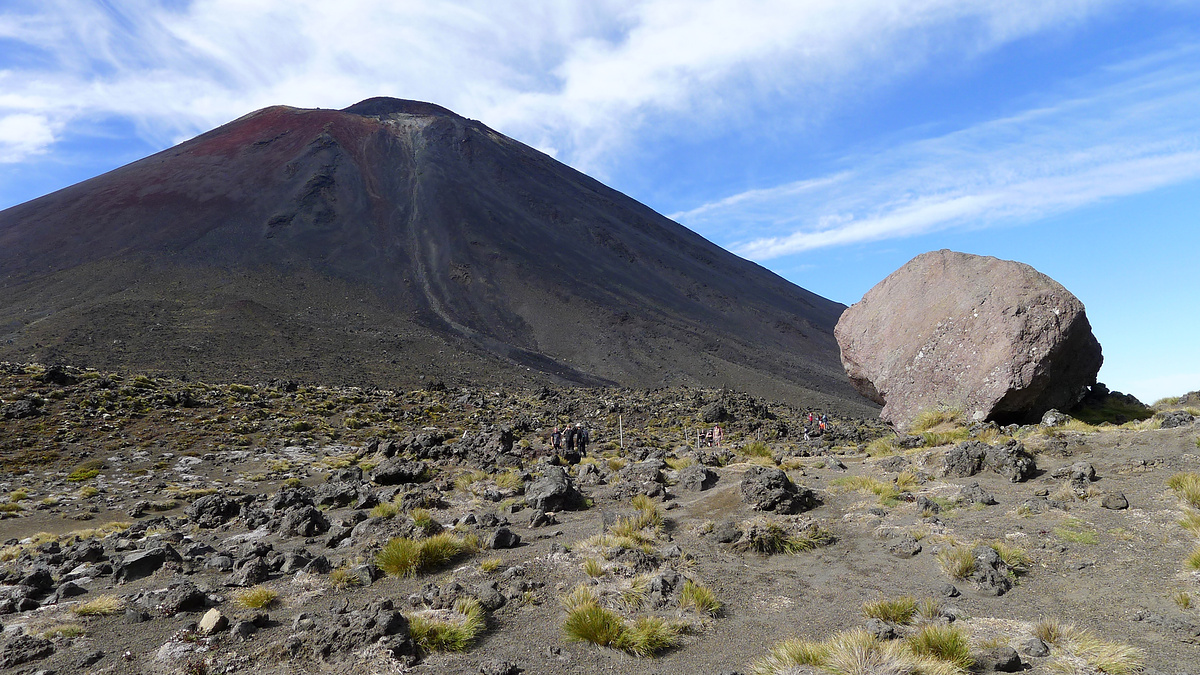
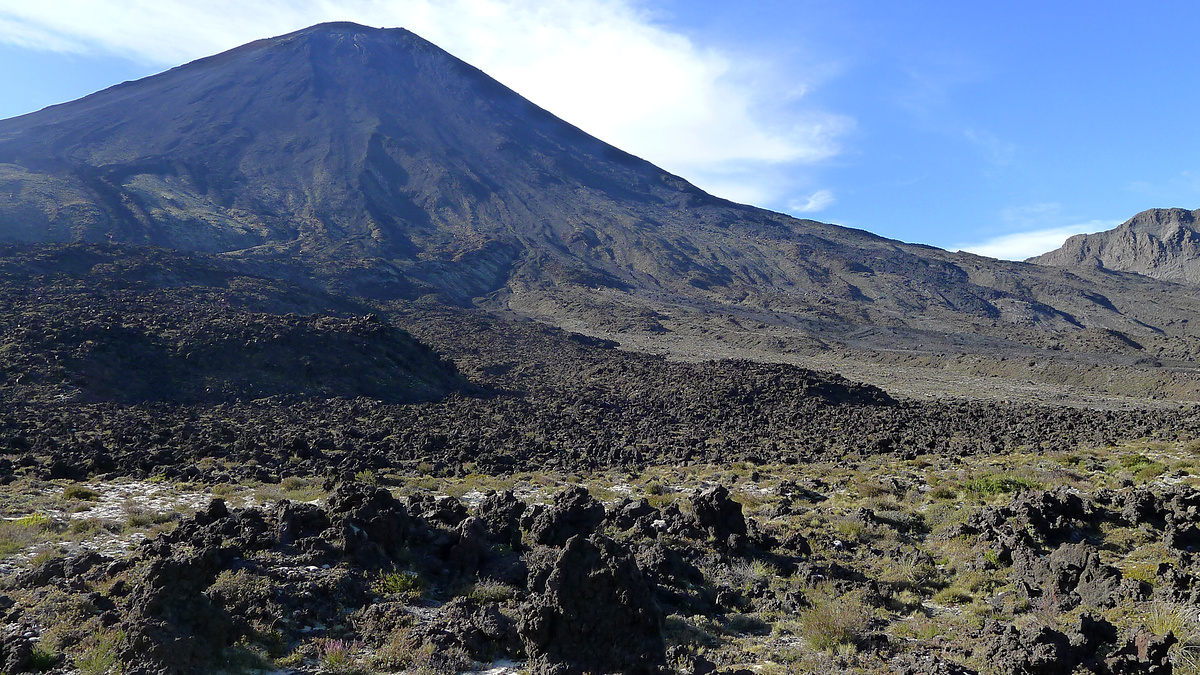
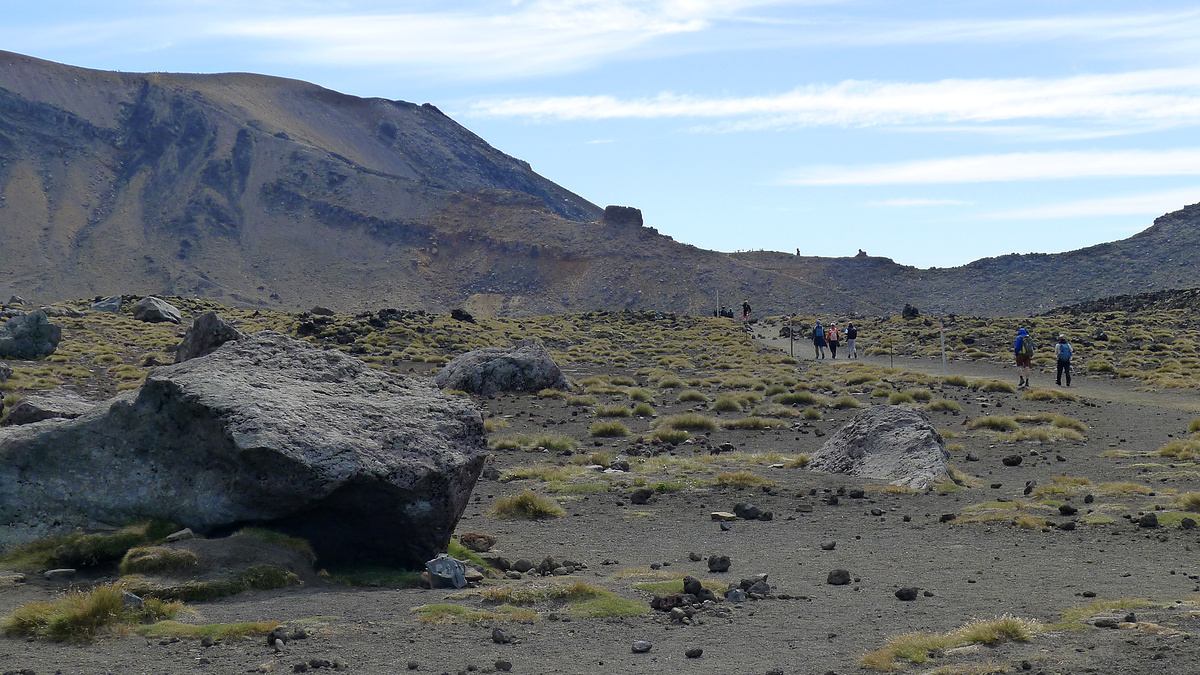
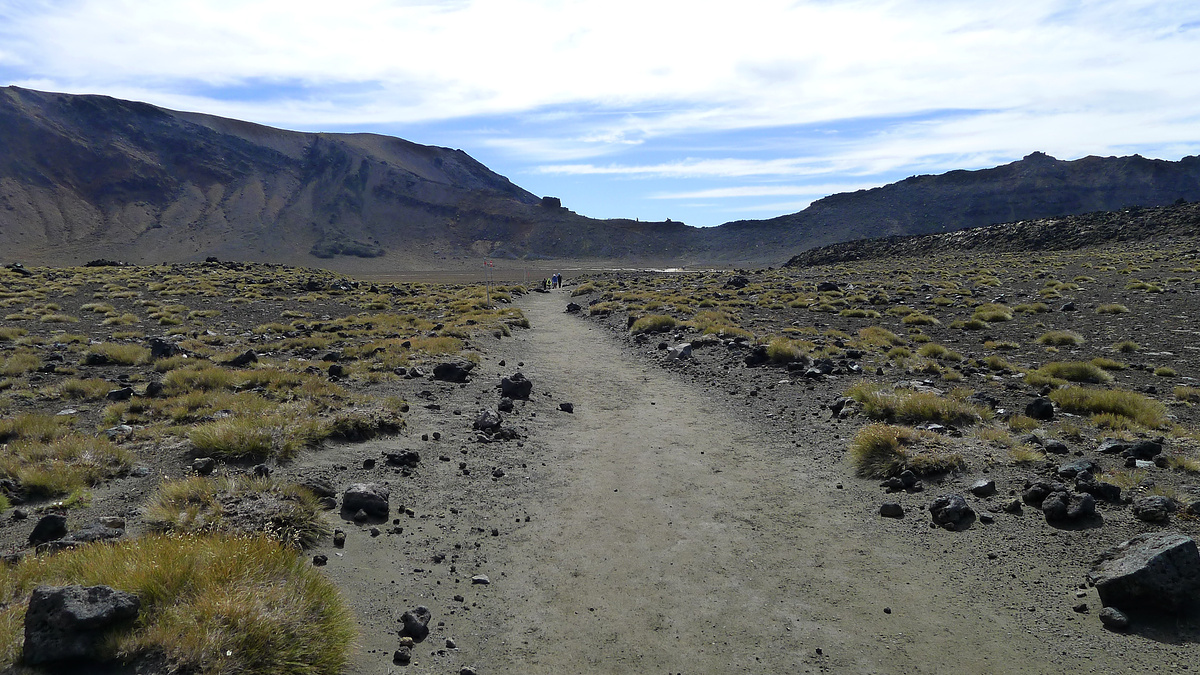
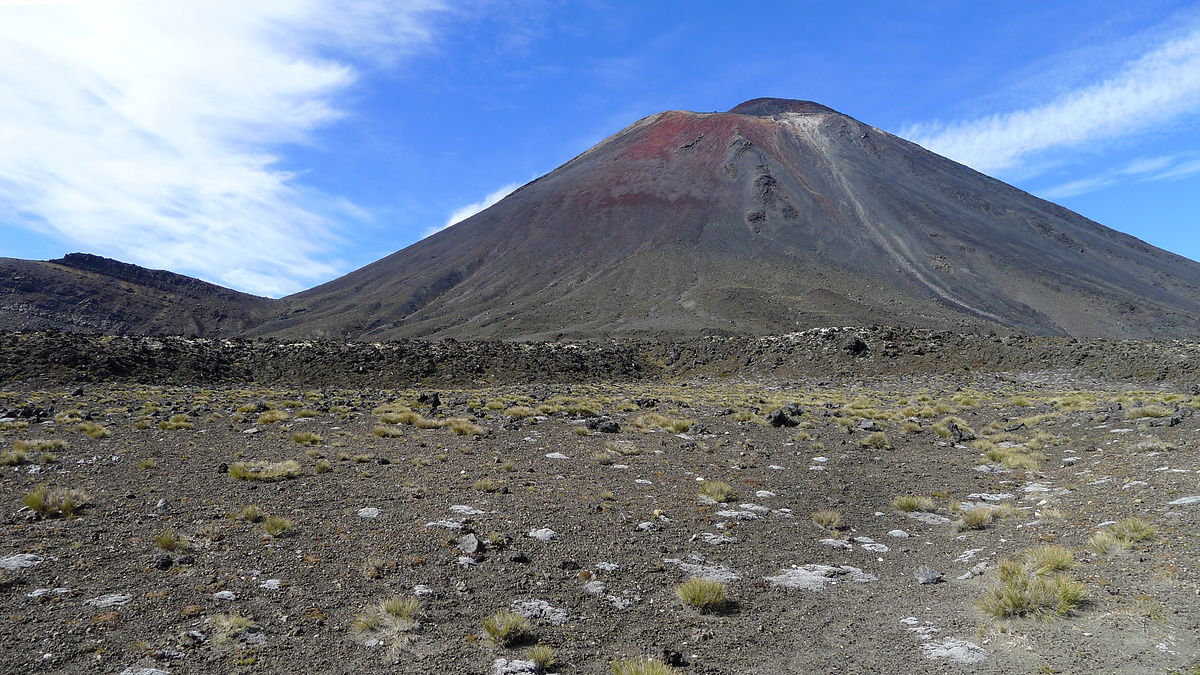
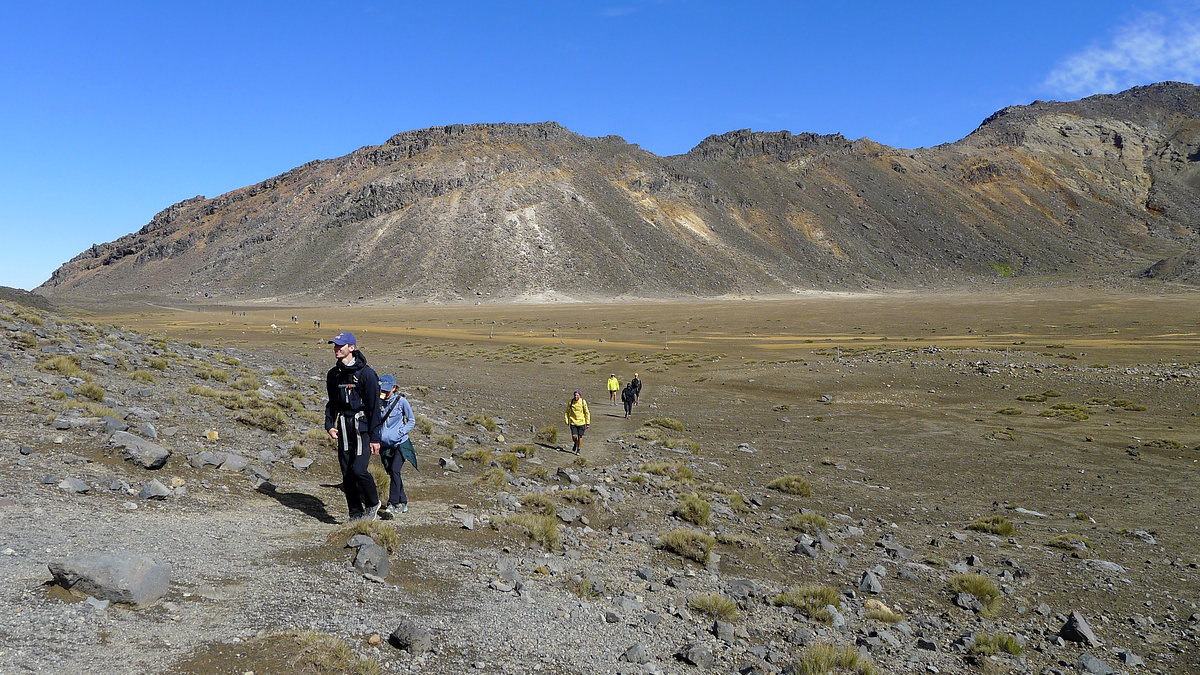
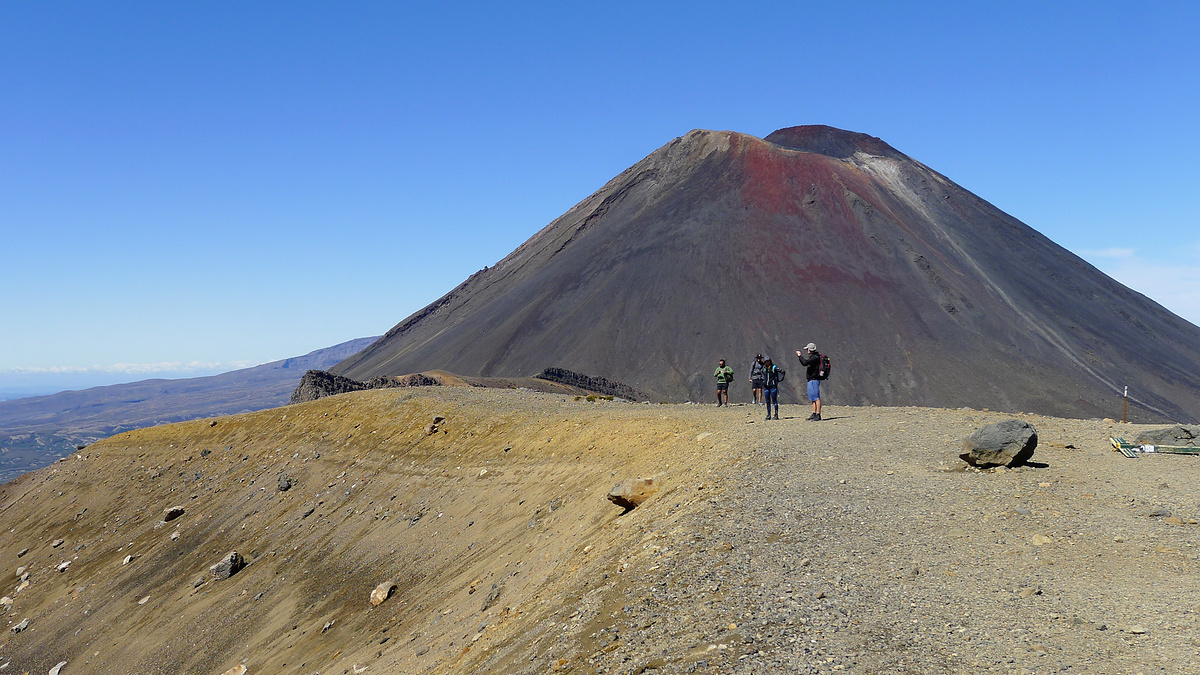
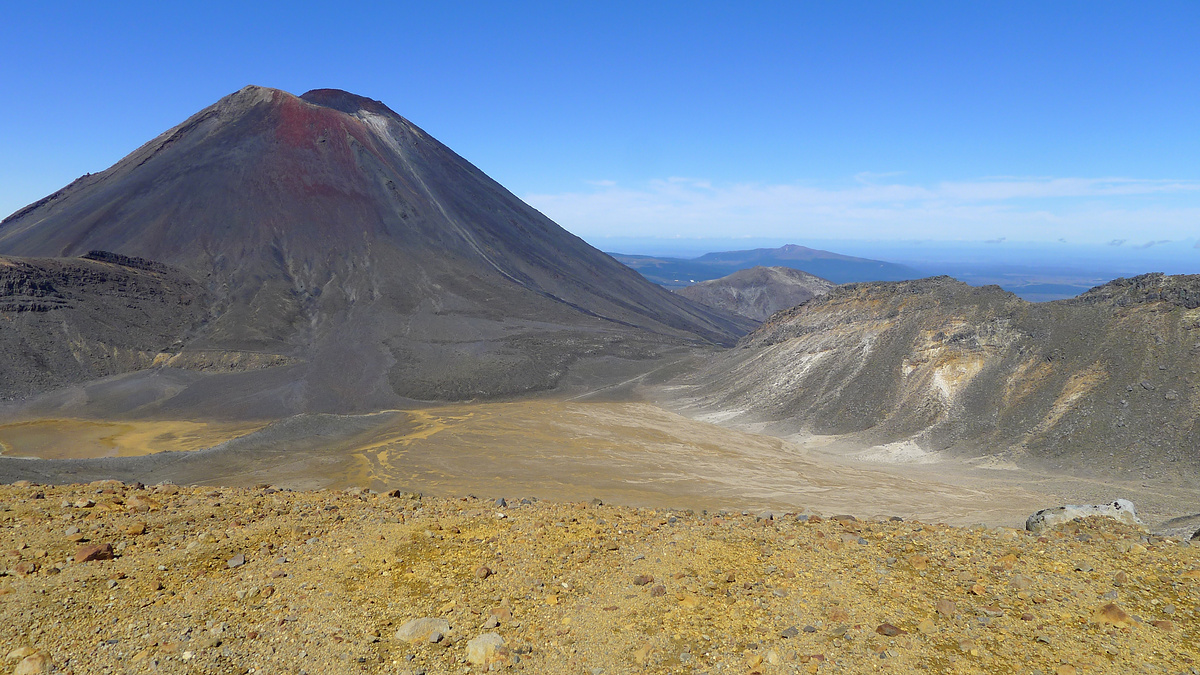
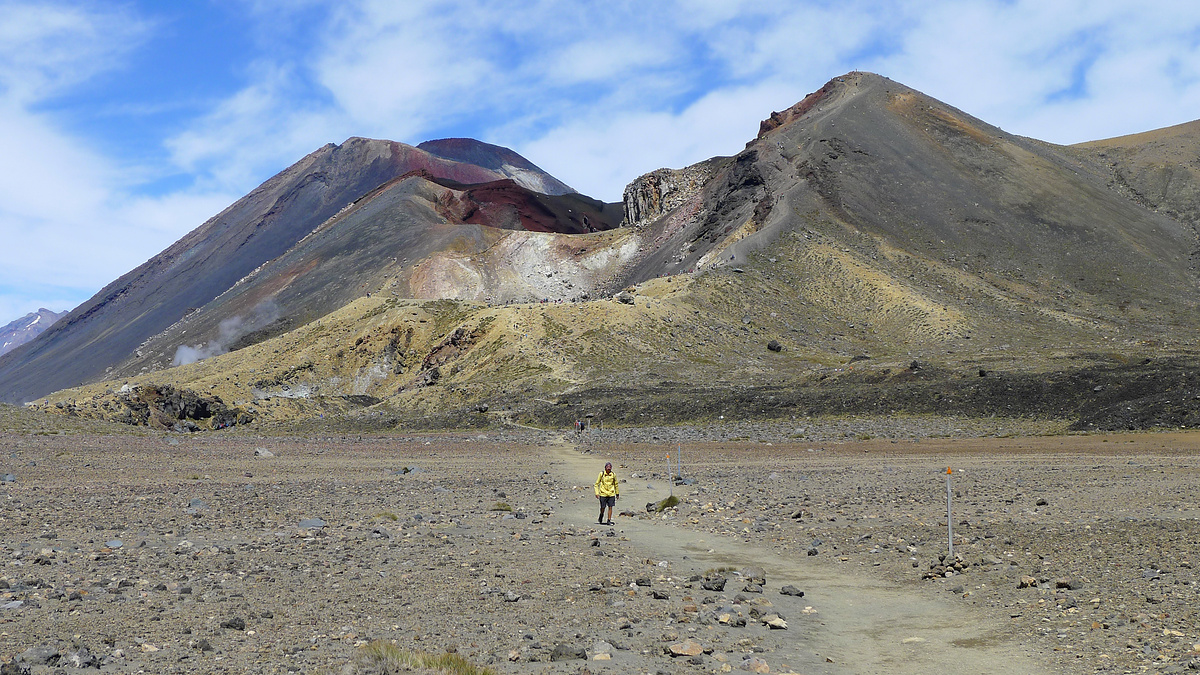
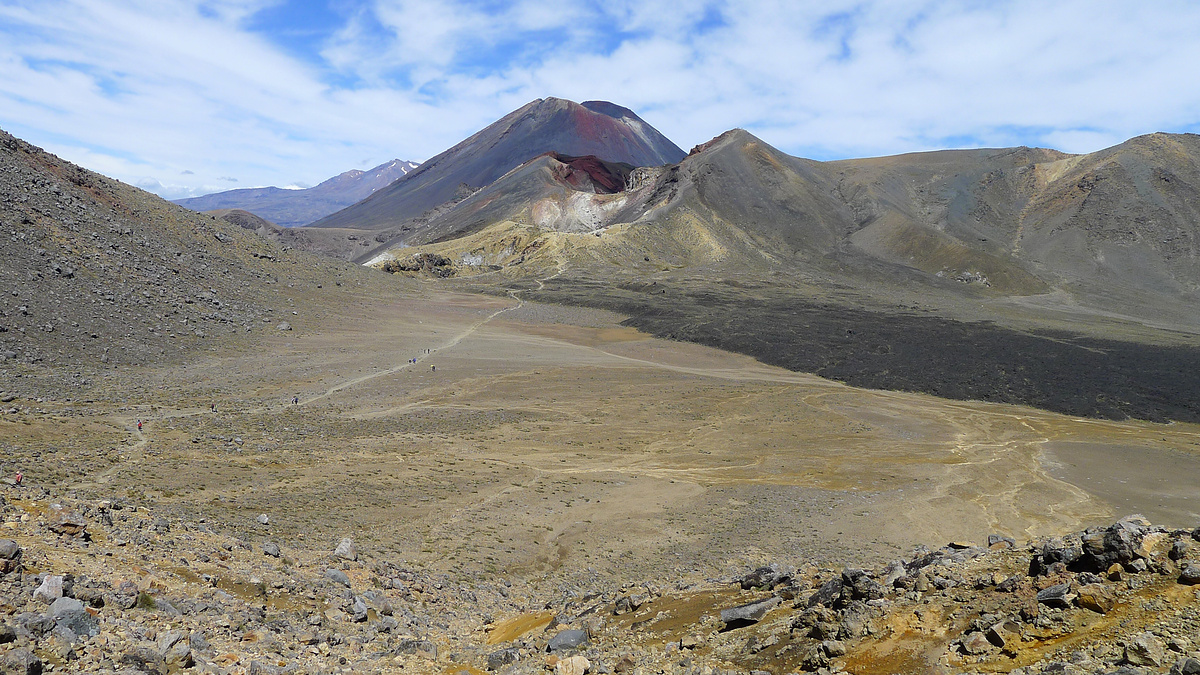
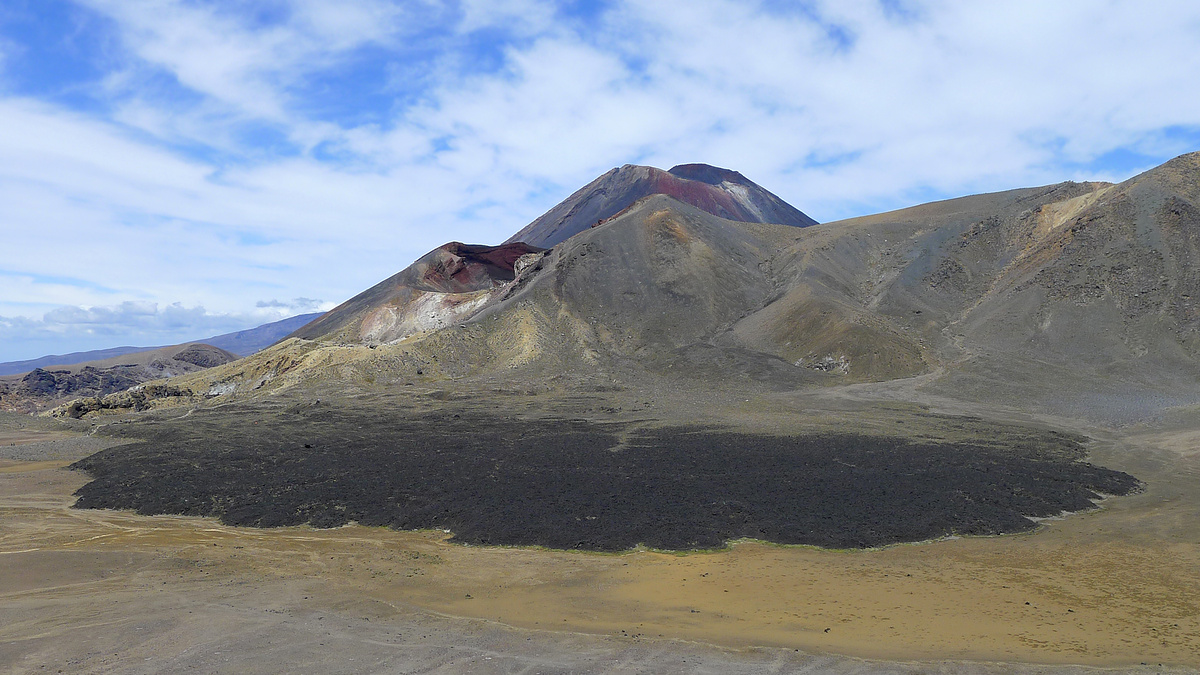
South Crater
At the top of the Devil’s Staircase the trail enters South Crater. There’s not much to write about here—it’s just a short, flat walk across the floor of the crater. There’s a pretty good solidified lava flow to look at, and you’ll hike by rocks and boulders ejected from Ngauruhoe during its previous eruptions.

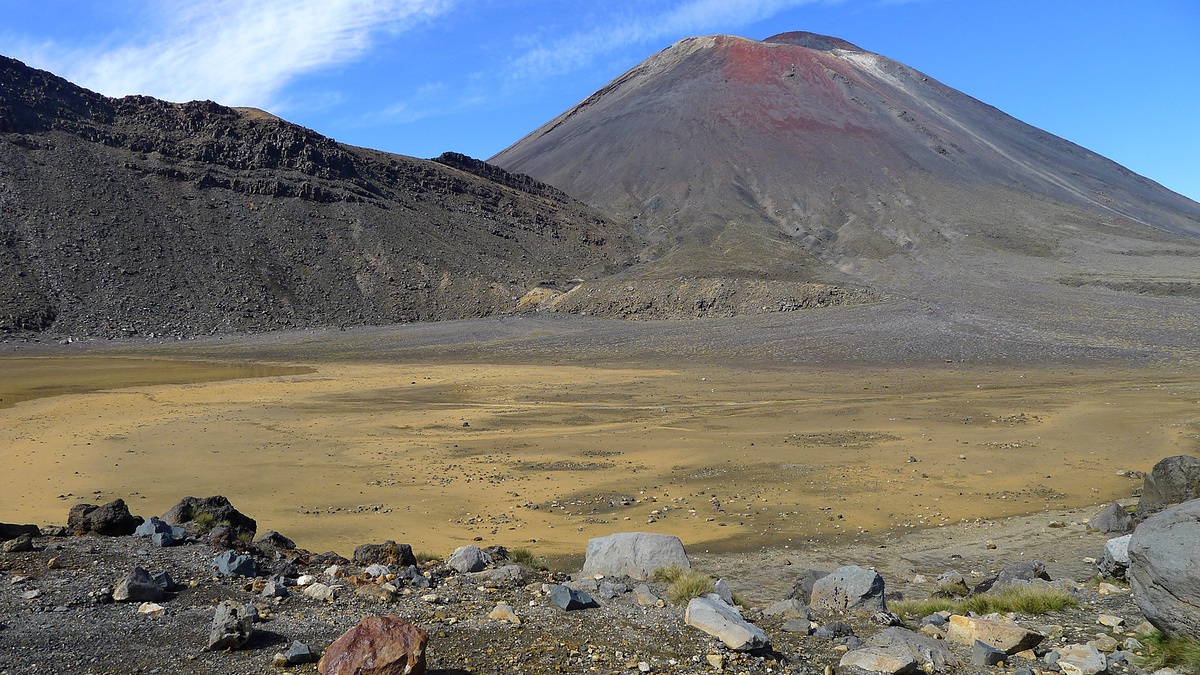


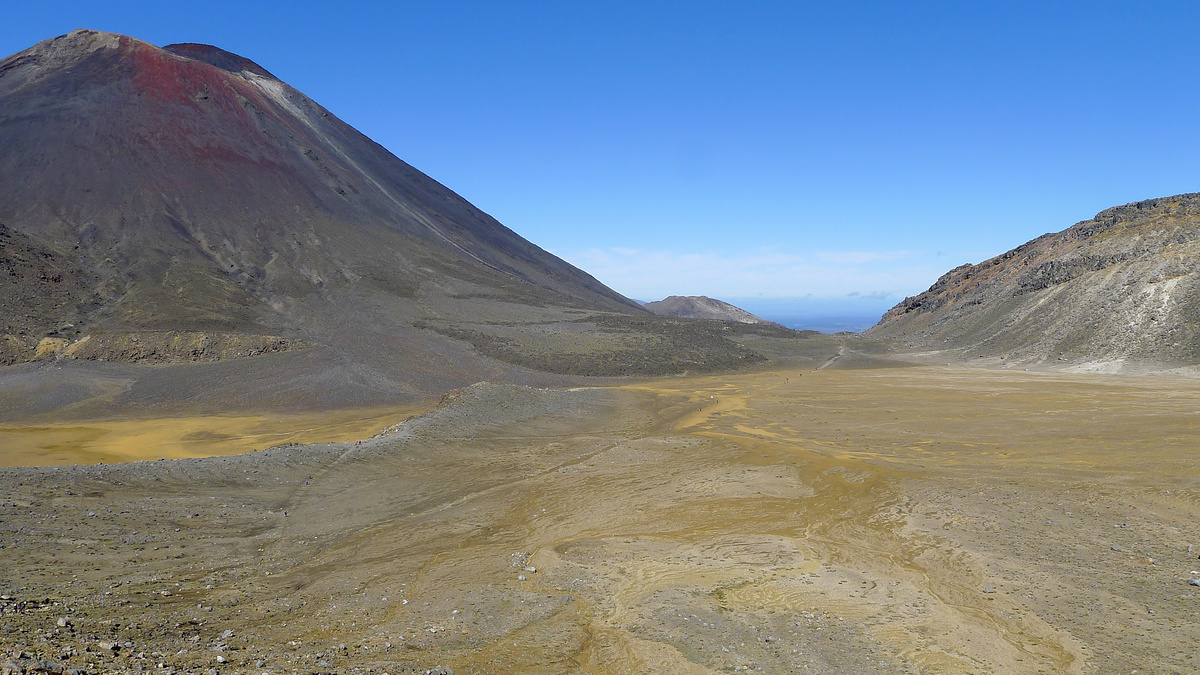

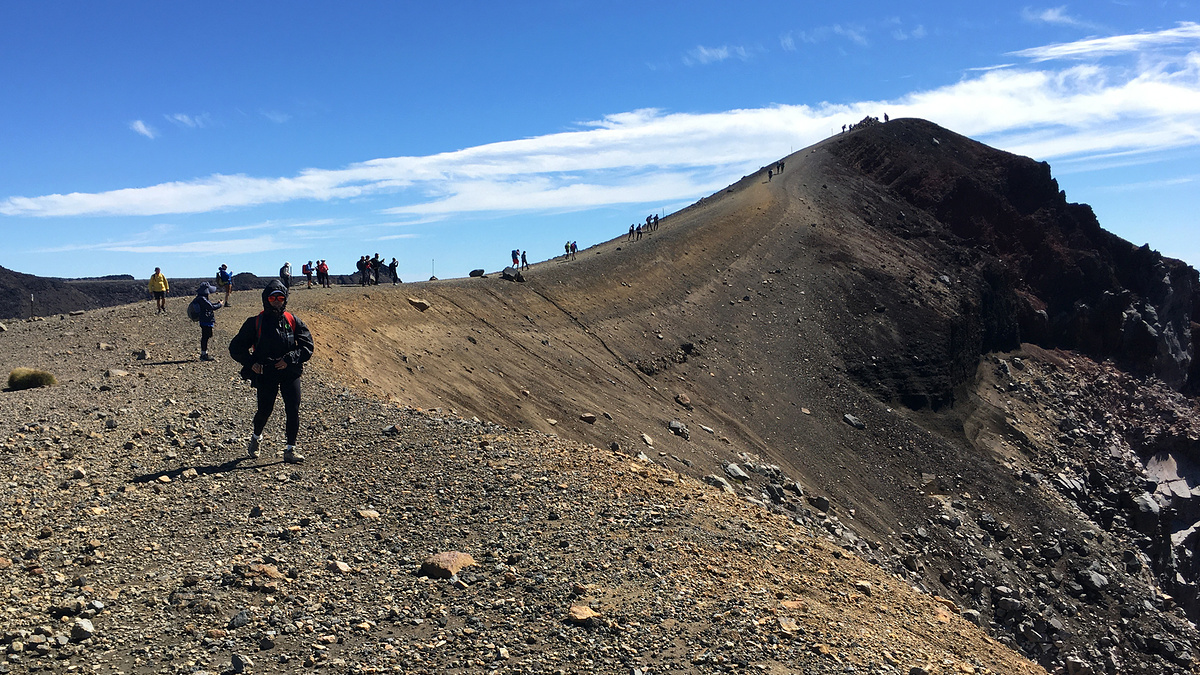
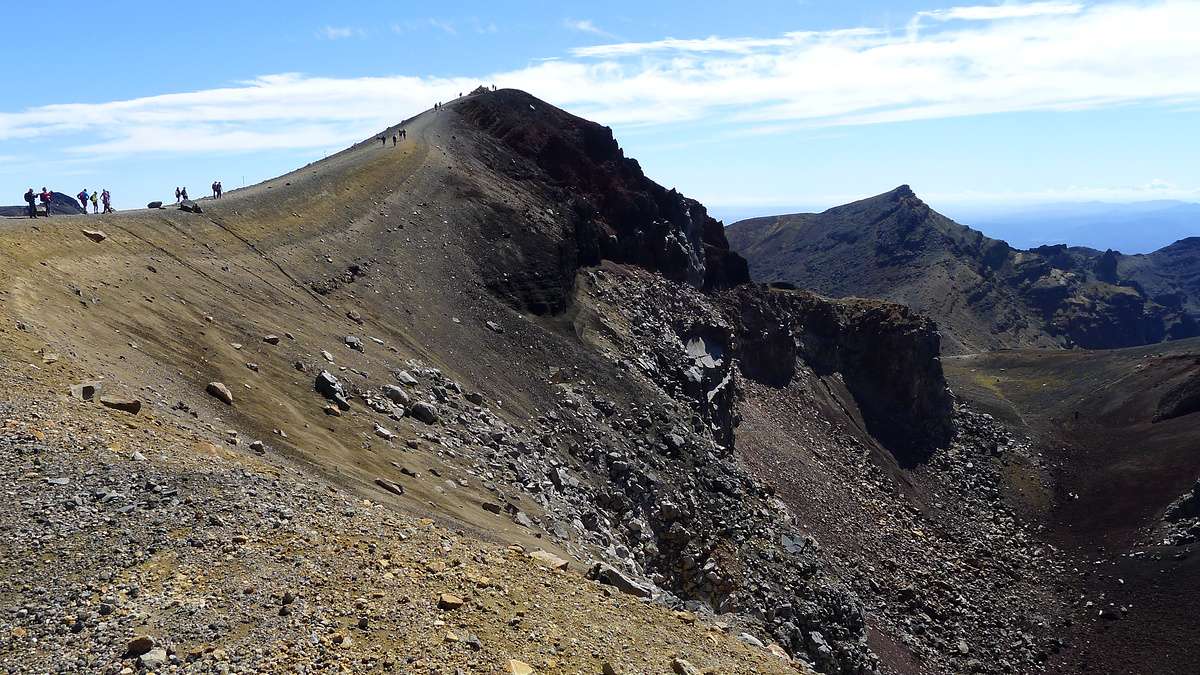
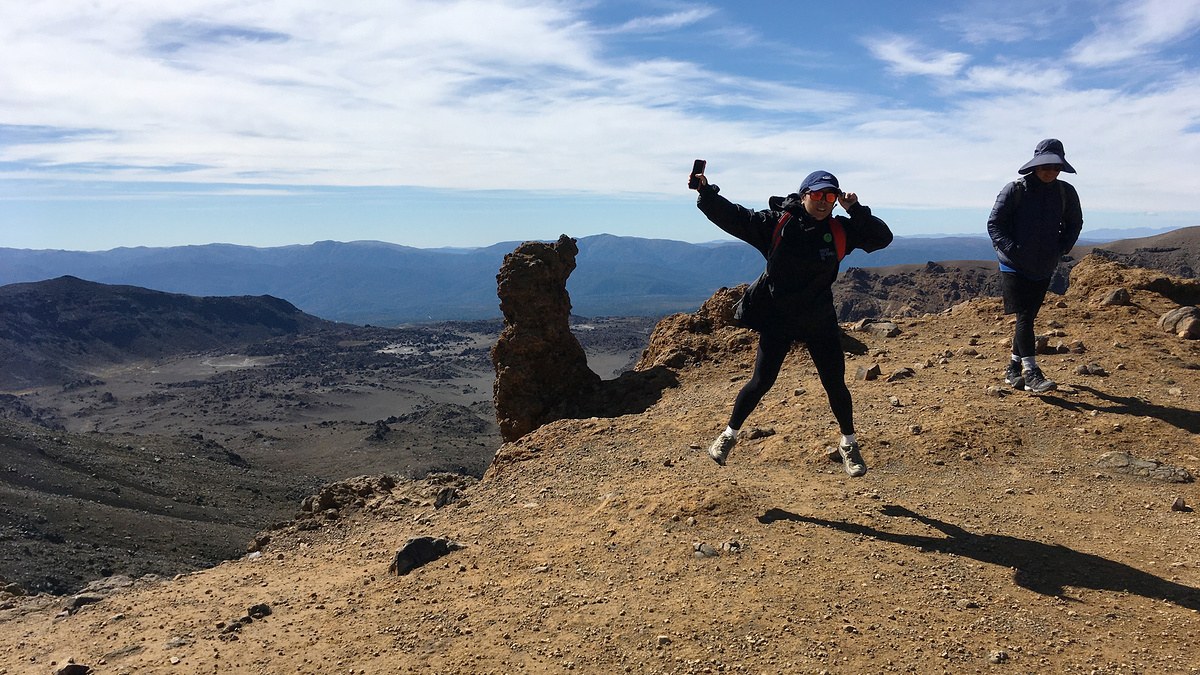
Red Crater
After a quick climb up on to the eastern rim of South Crater, the track follows a narrow ridge up to the western rim of Red Crater, peaking at the Emerald Lakes view point.
This is the last extended ascent of the hike, gaining about 220m of elevation over about 1km of trail.
This section is dangerous on a day with strong winds—a gust could blow you off the ridge and down into a crater.
When you reach the Emerald Lakes view point you’re at the highest point of the hike, 1,886m above sea level.
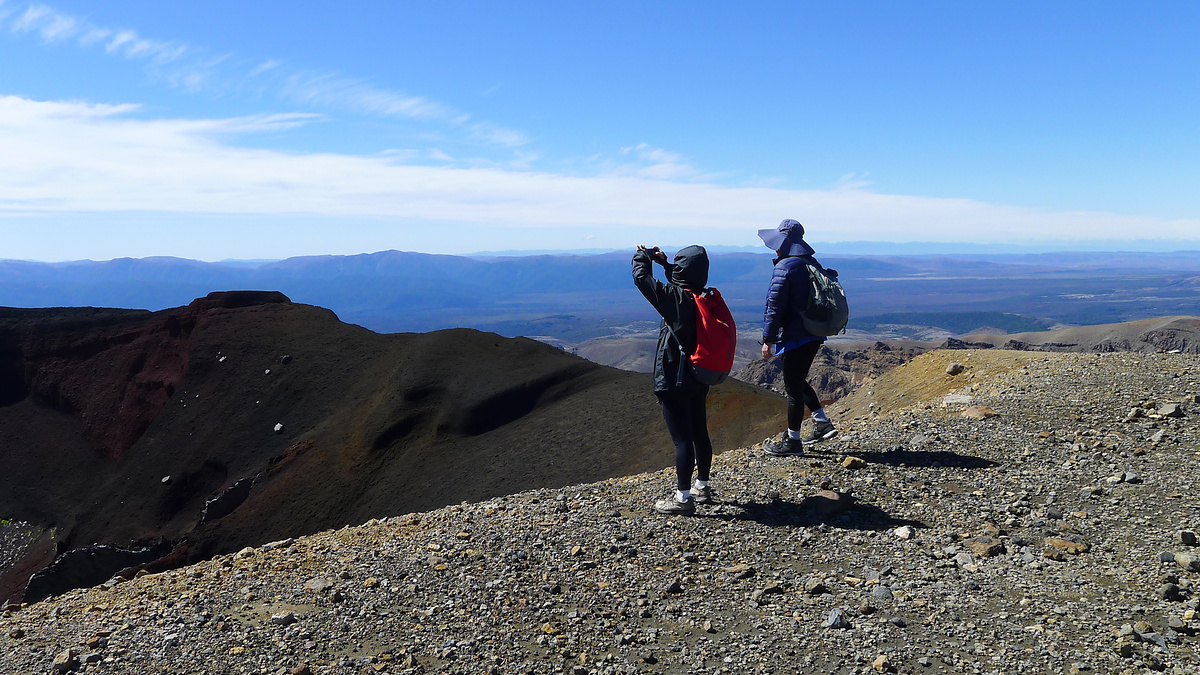
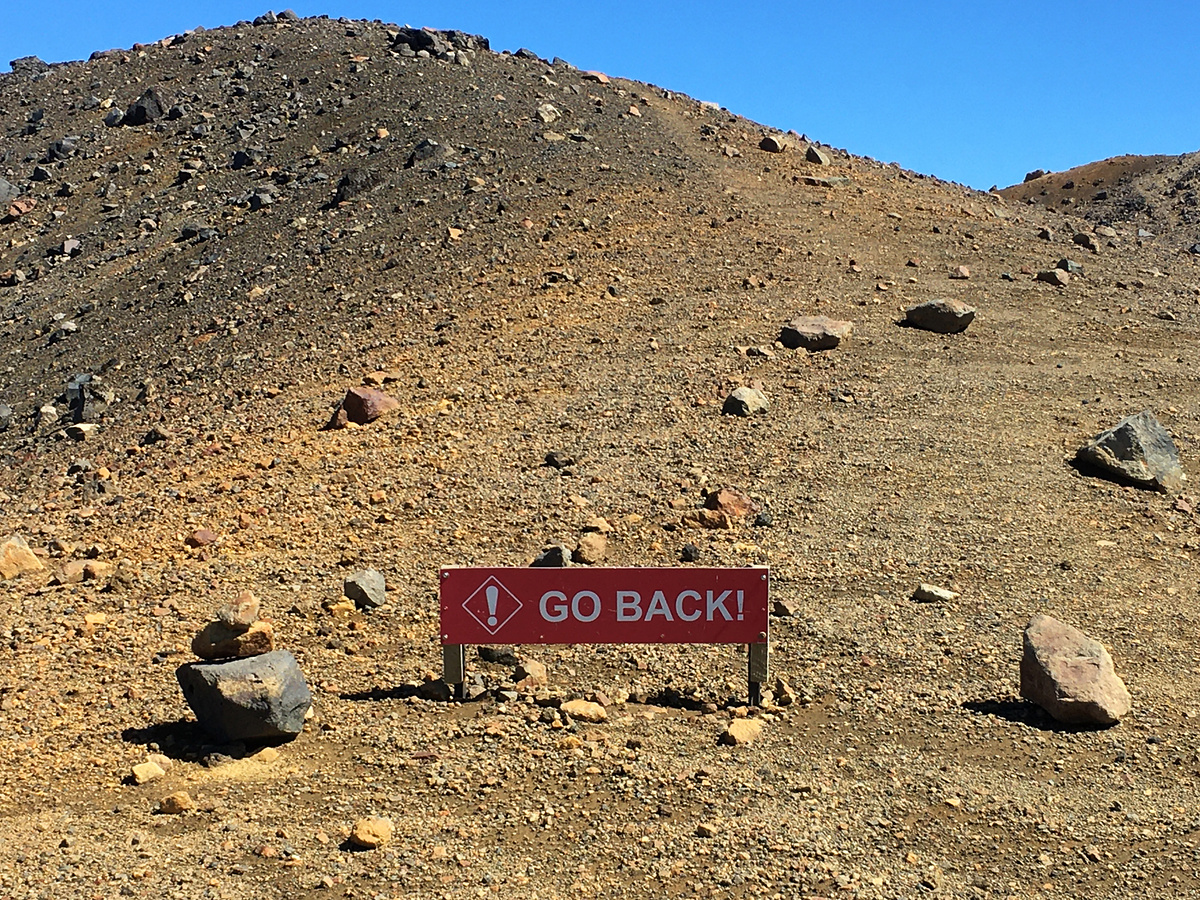
Tongariro summit track
Just before the Emerald Lakes view point is the turn off for the Tongariro summit track. As mentioned before, the peaks of the mountains are considered sacred and climbing them is officially discouraged. Thought I might take a quick look, though.
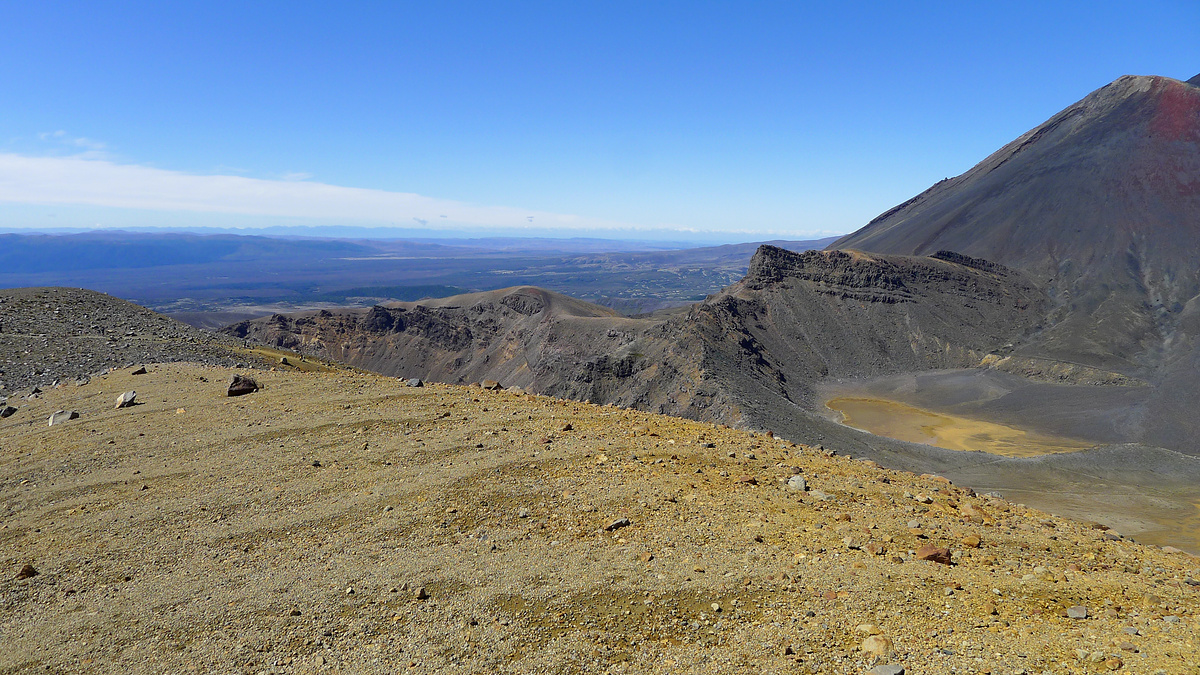
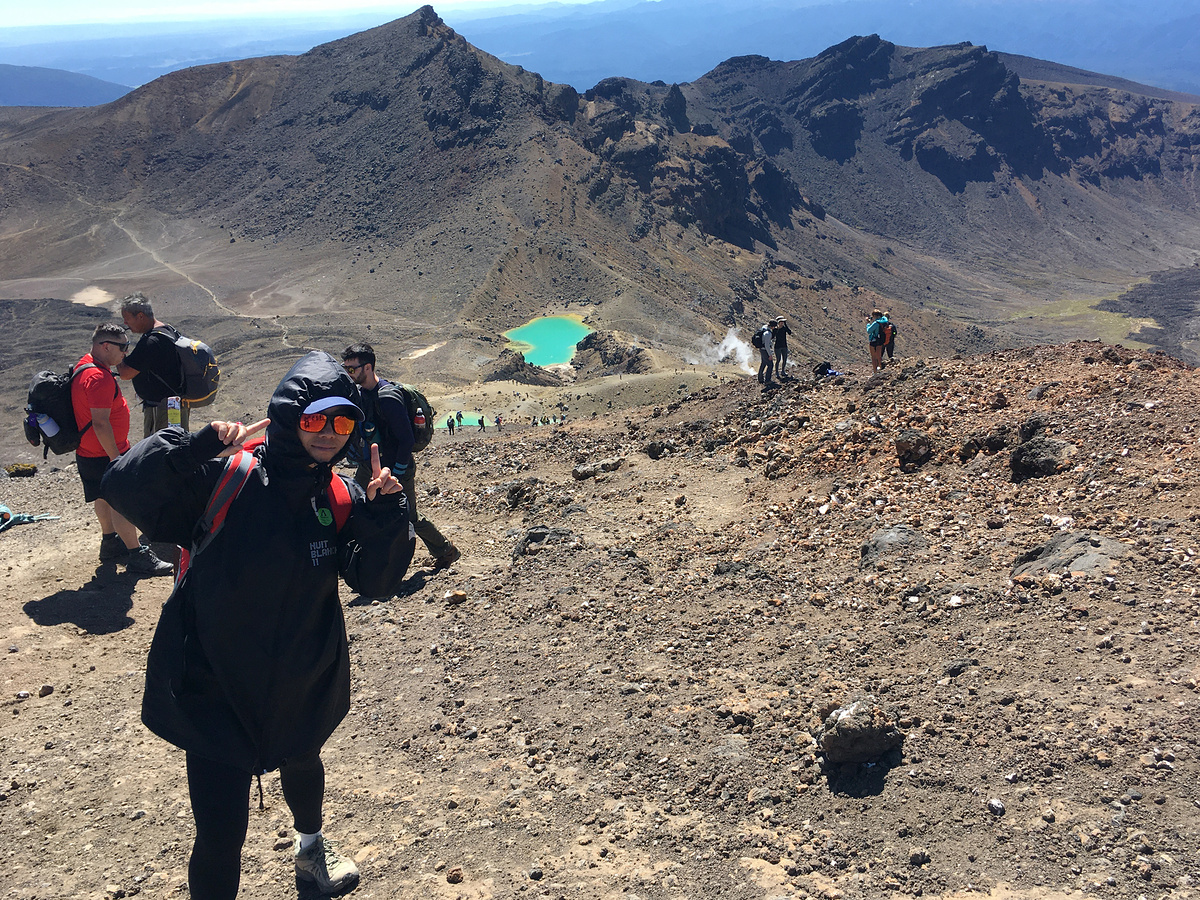
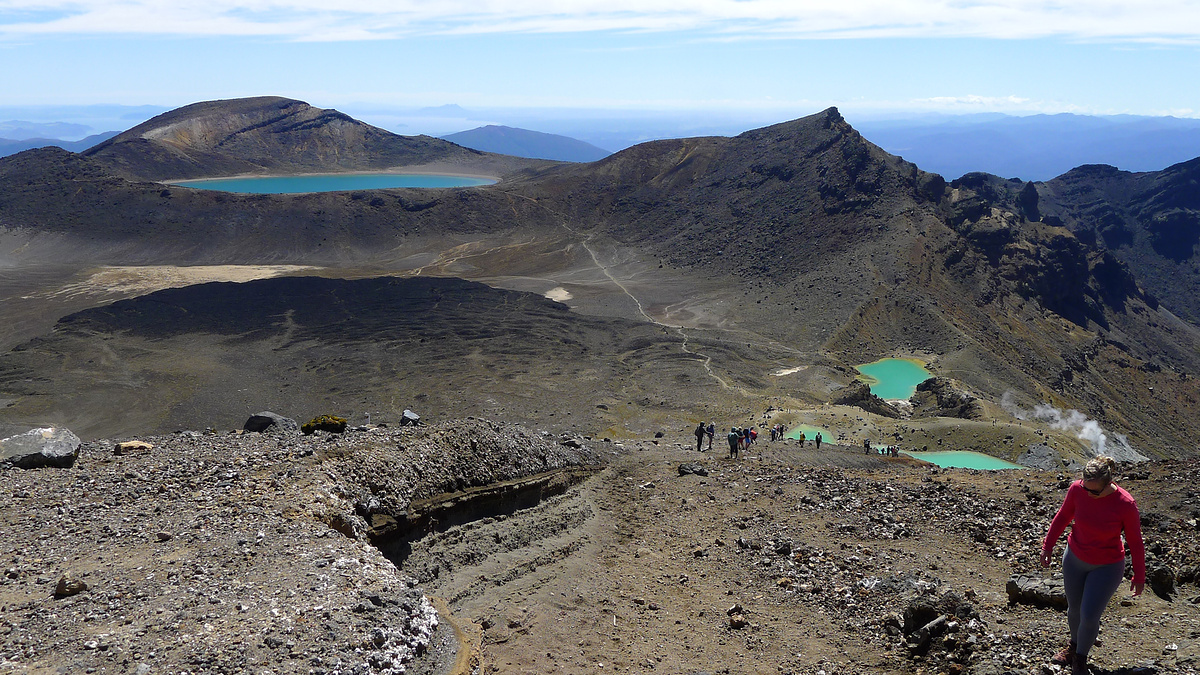
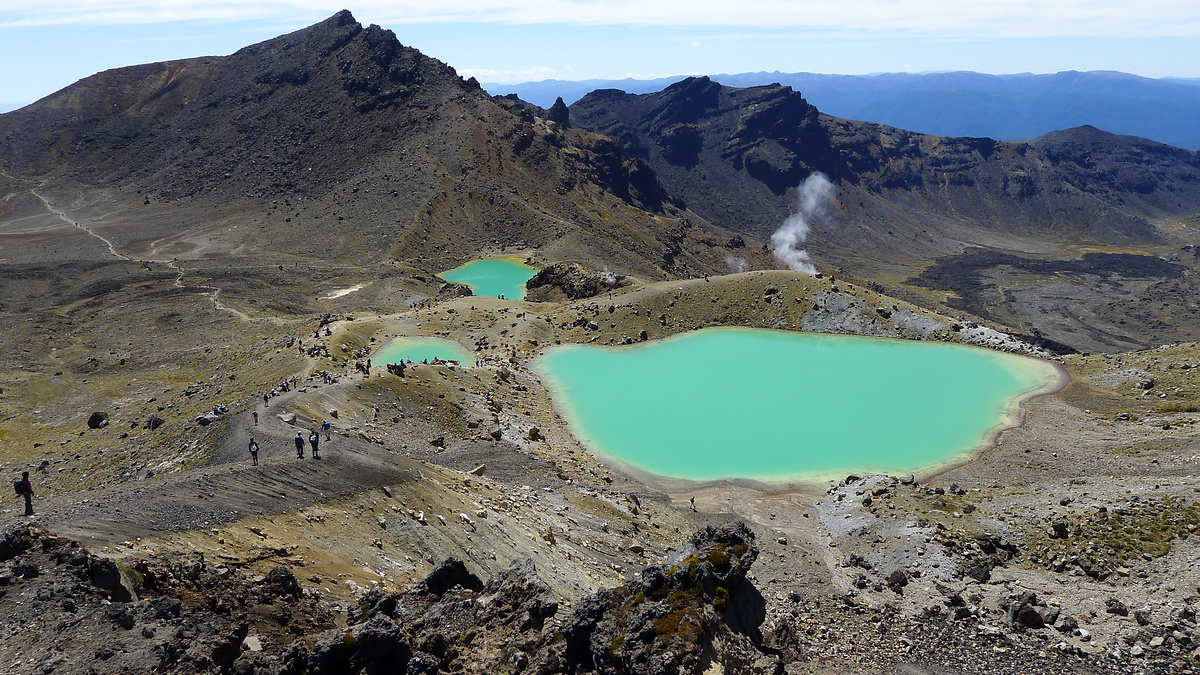
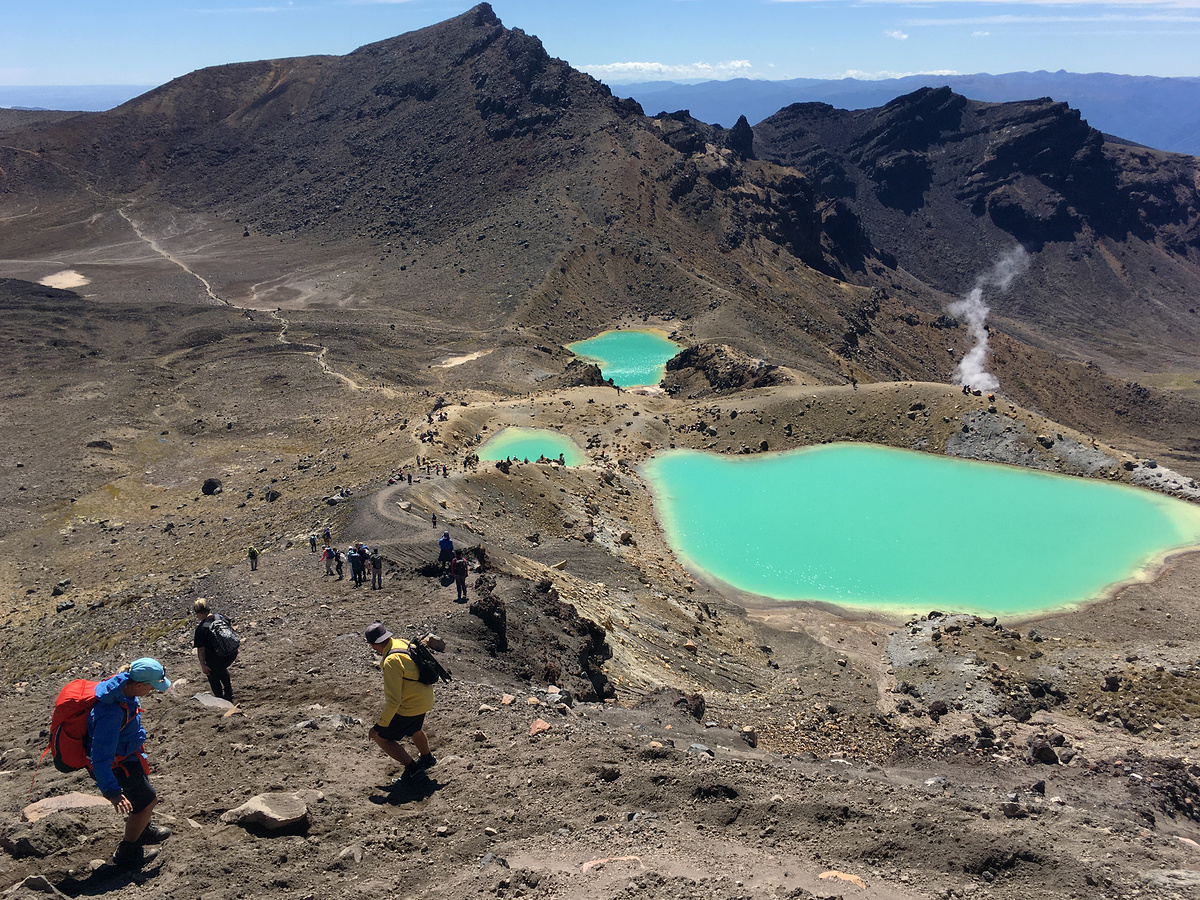
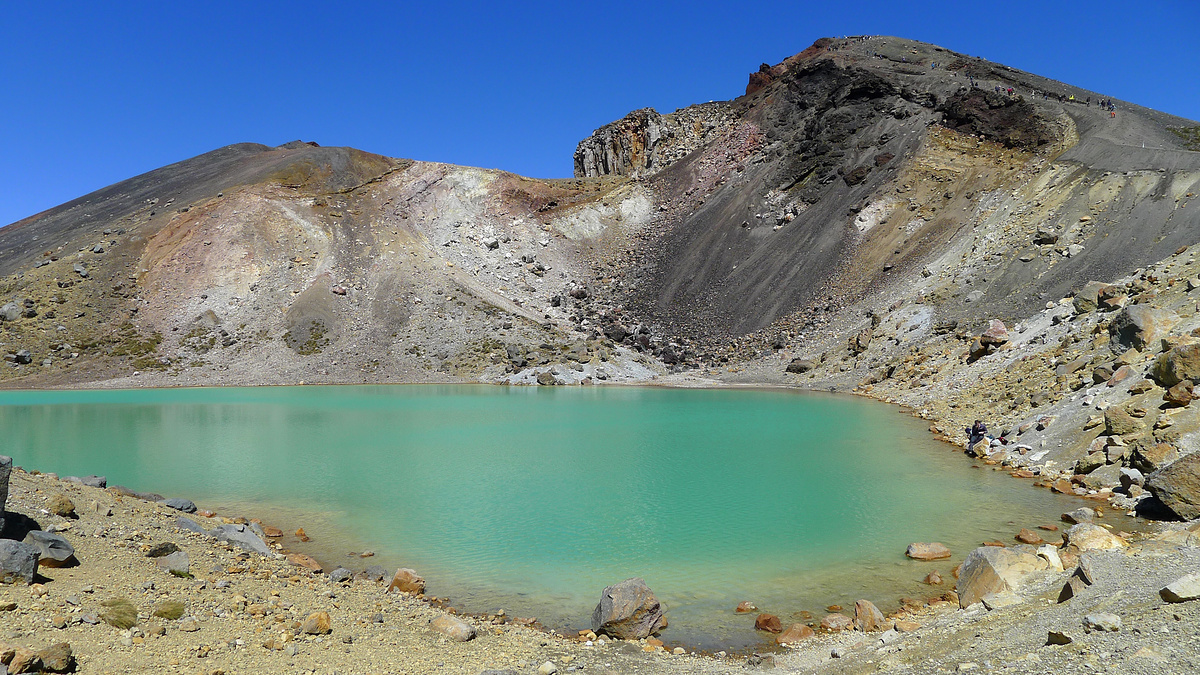
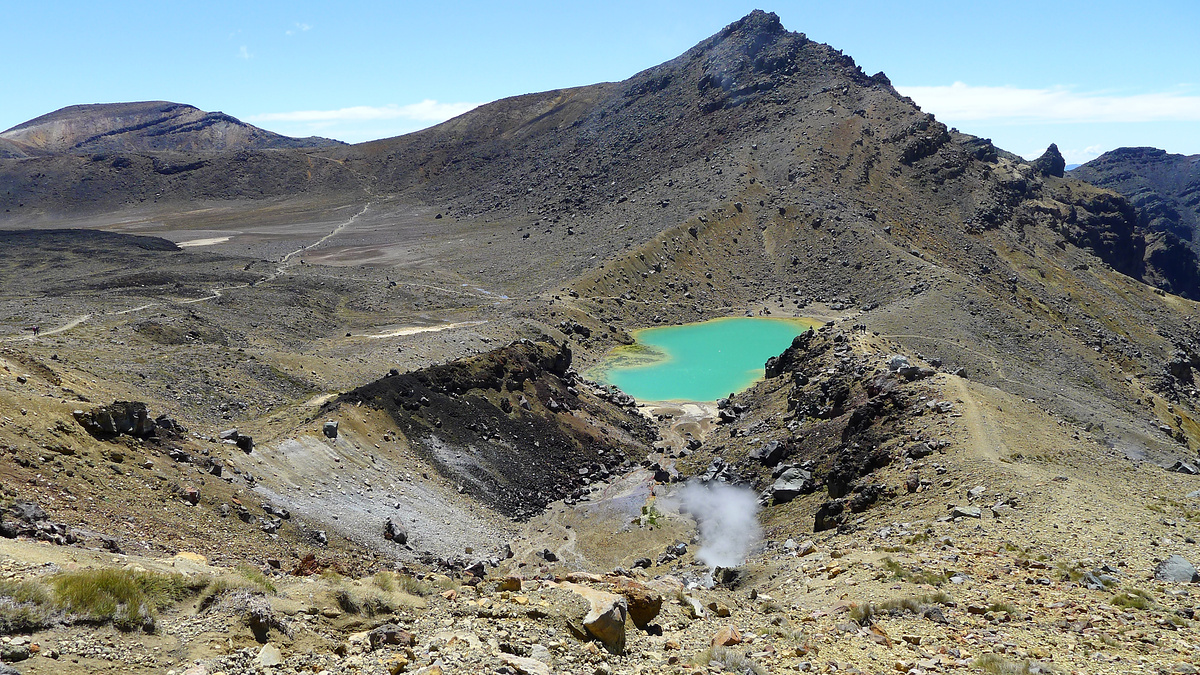
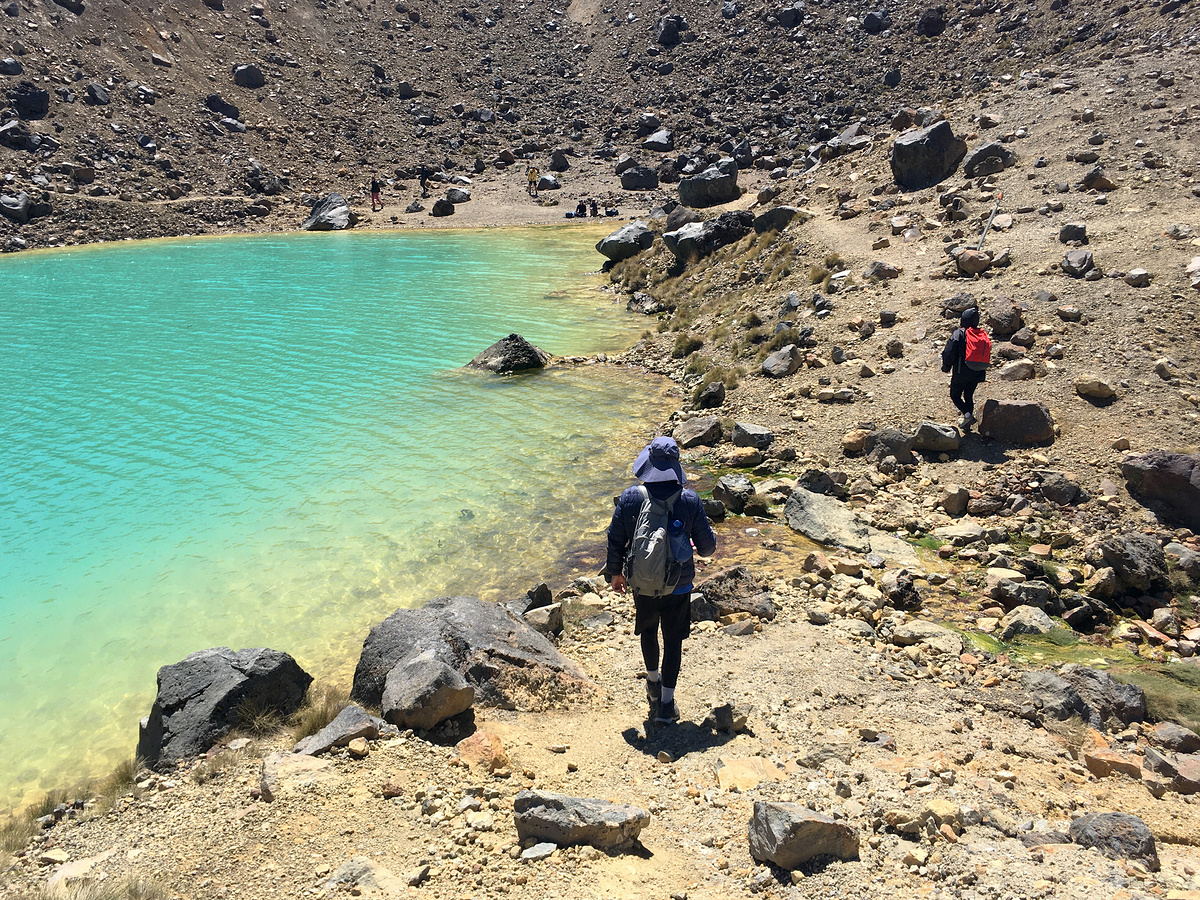
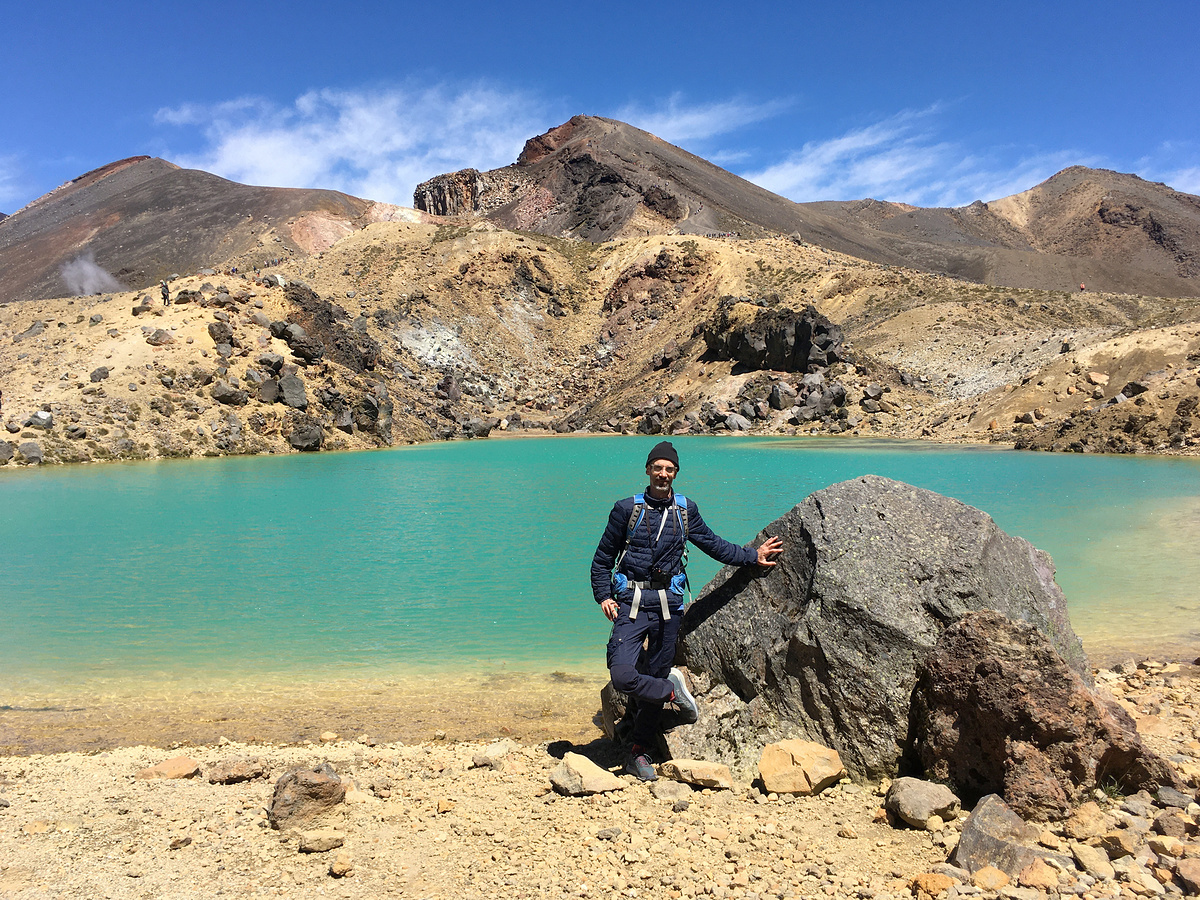
Emerald Lakes
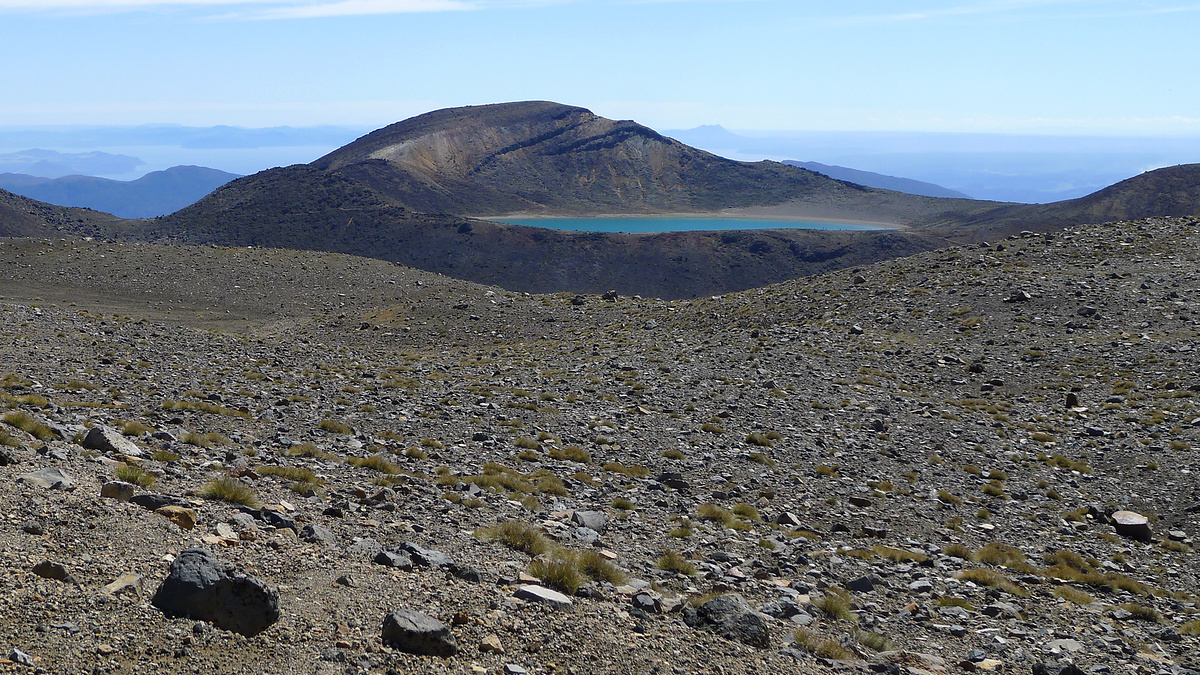
From the Emerald Lakes view point you get super views eastwards—the Emerald Lakes in the foreground, the larger Blue Lake just beyond, and Lake Taupo all the way in the back.
The lakes here are craters that filled with water, with the bright colours of the Emerald Lakes coming from dissolved minerals.
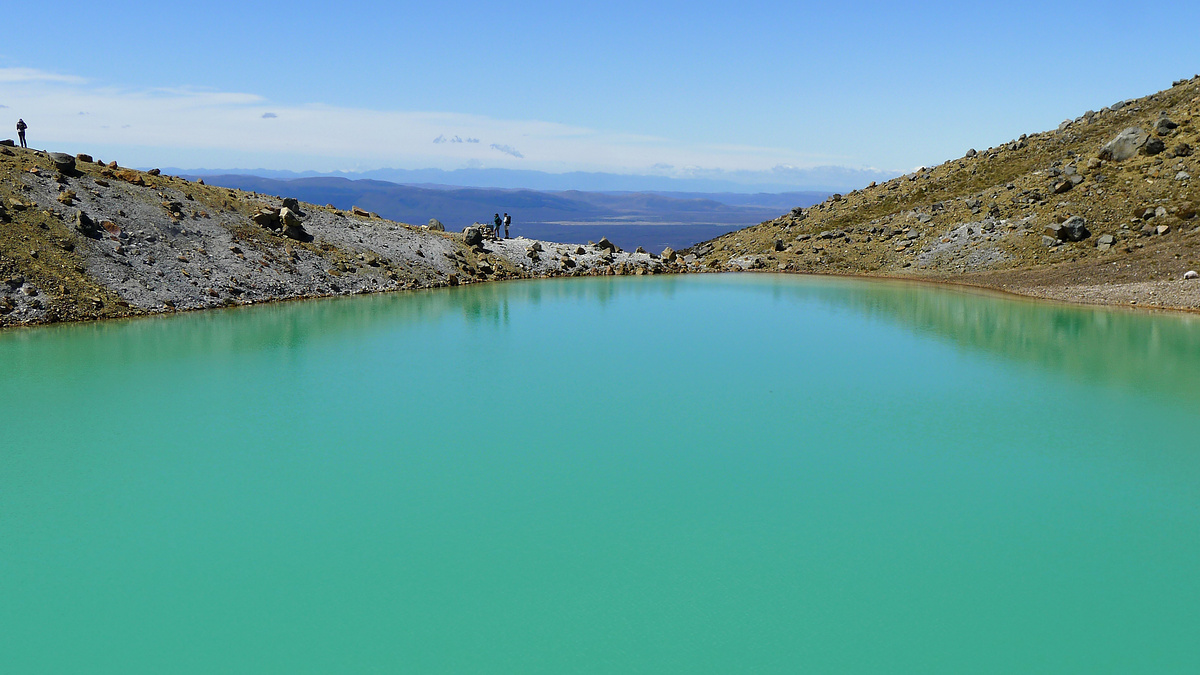
With the detour to the hut, and me messing around on the Tongariro summit track, and then soles peeling off hiking boots, etc., etc., we got to Emerald Lakes just a couple of hours before the first bus was due to depart from Ketetahi carpark. Instead of running down – and maybe missing the bus anyway – we ate lunch and messed about for a bit longer by the springs, and from that you get this little timelapse which is unfortunately focused on the grass instead of the lake.


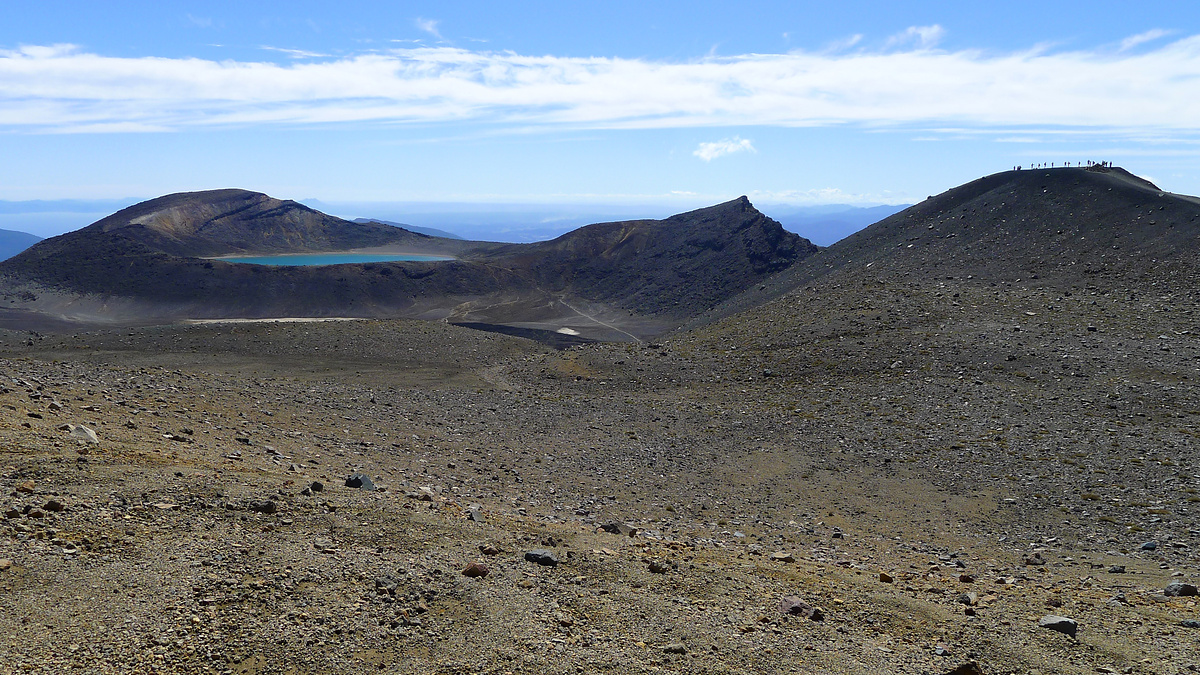
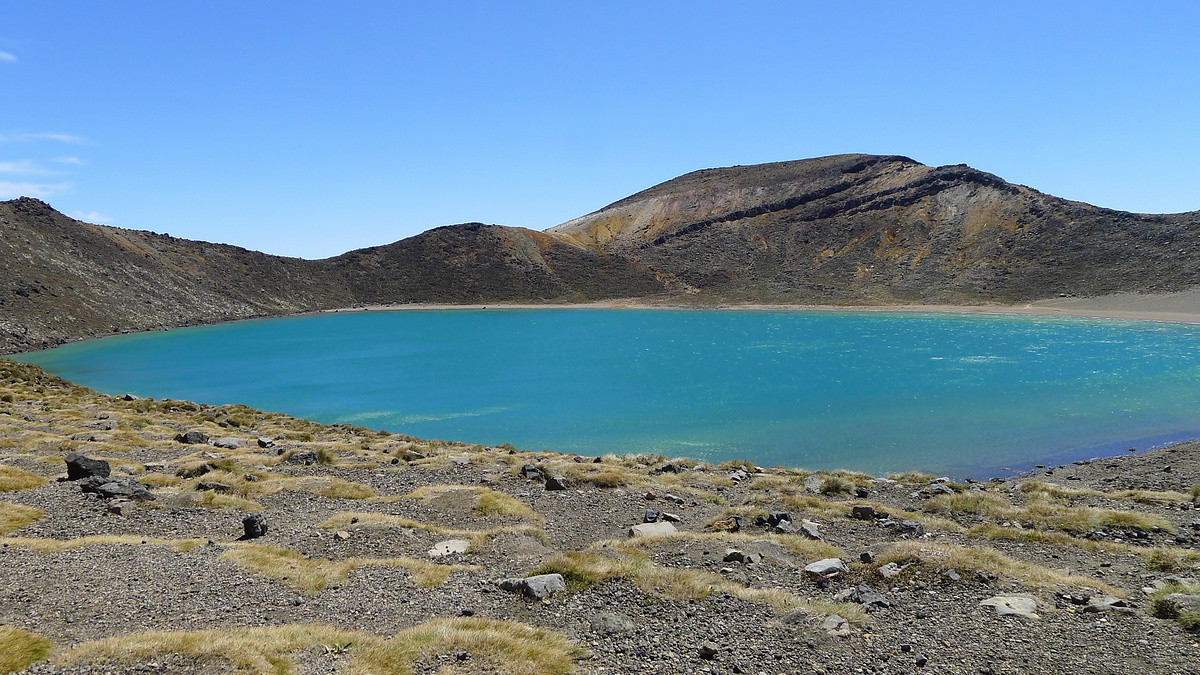
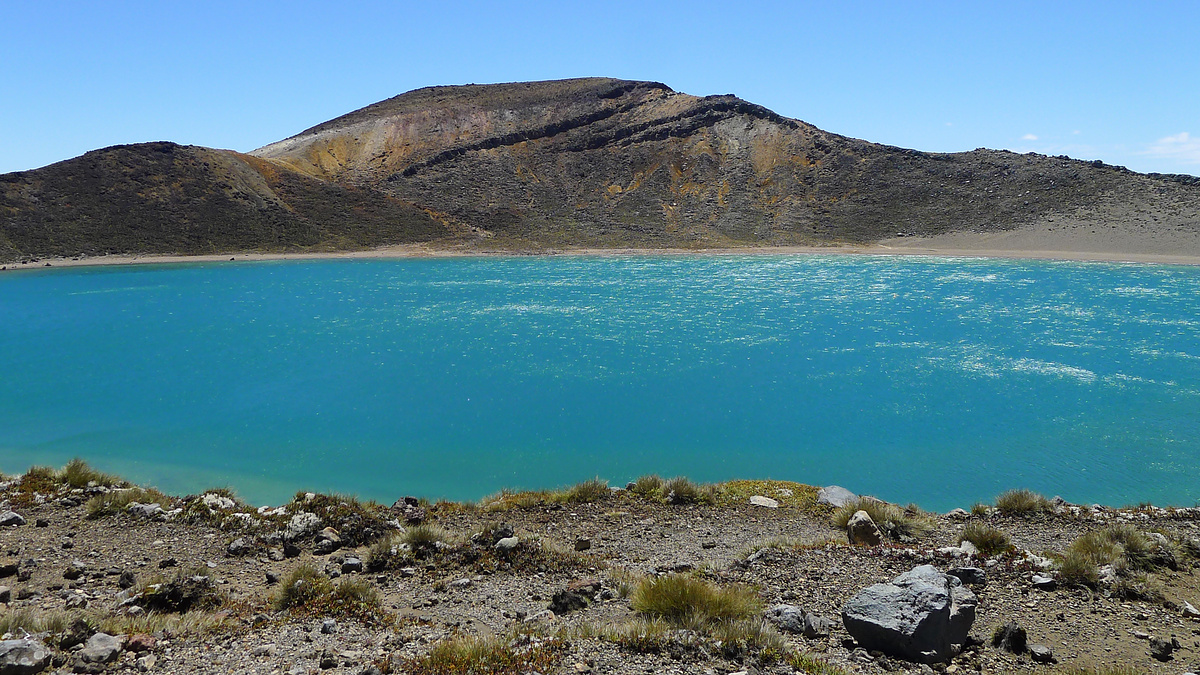
Central Crater and Blue Lake
A short walk across Central Crater gets you to Blue Lake.
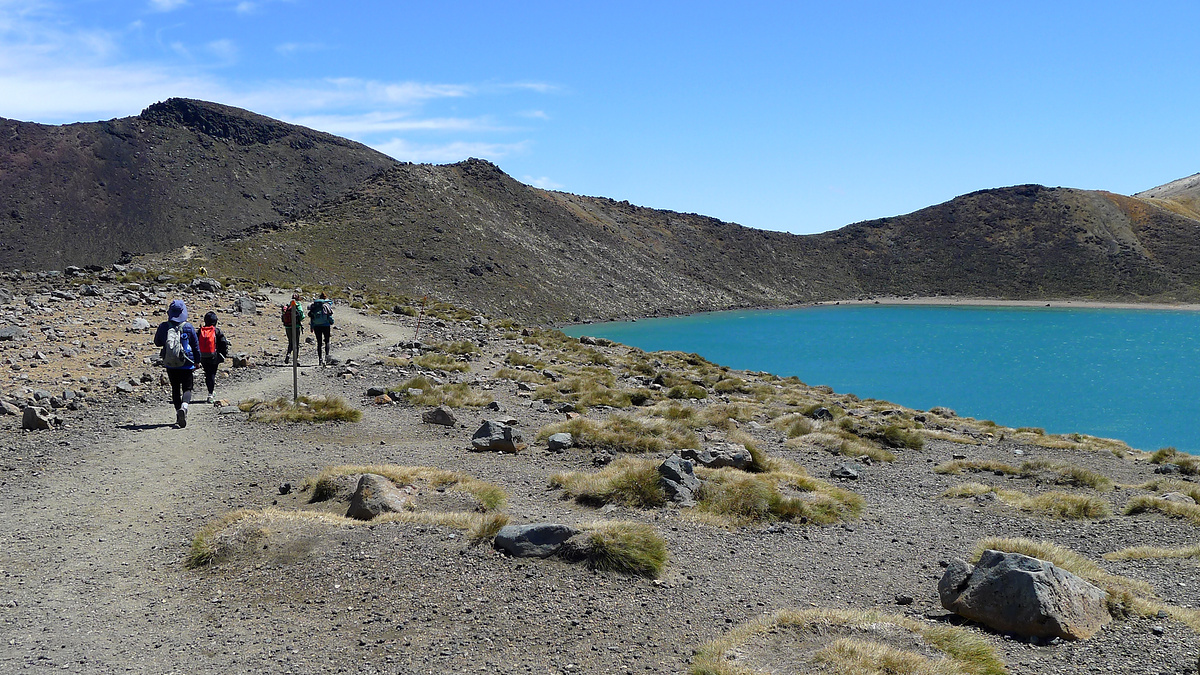
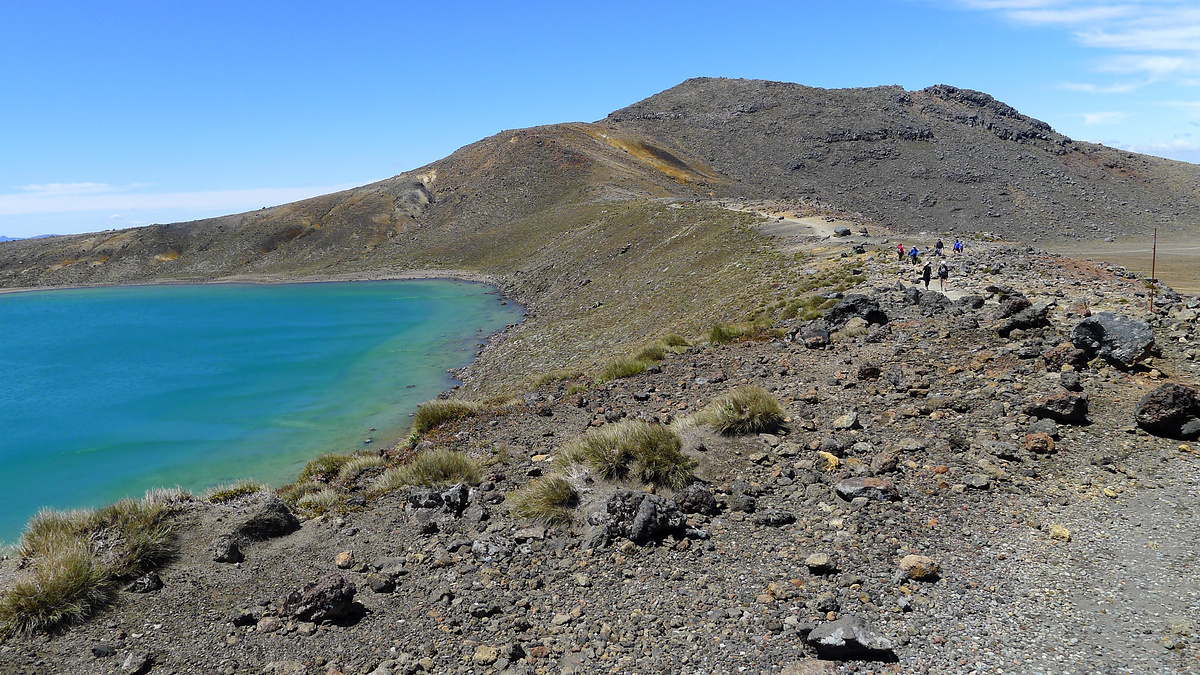
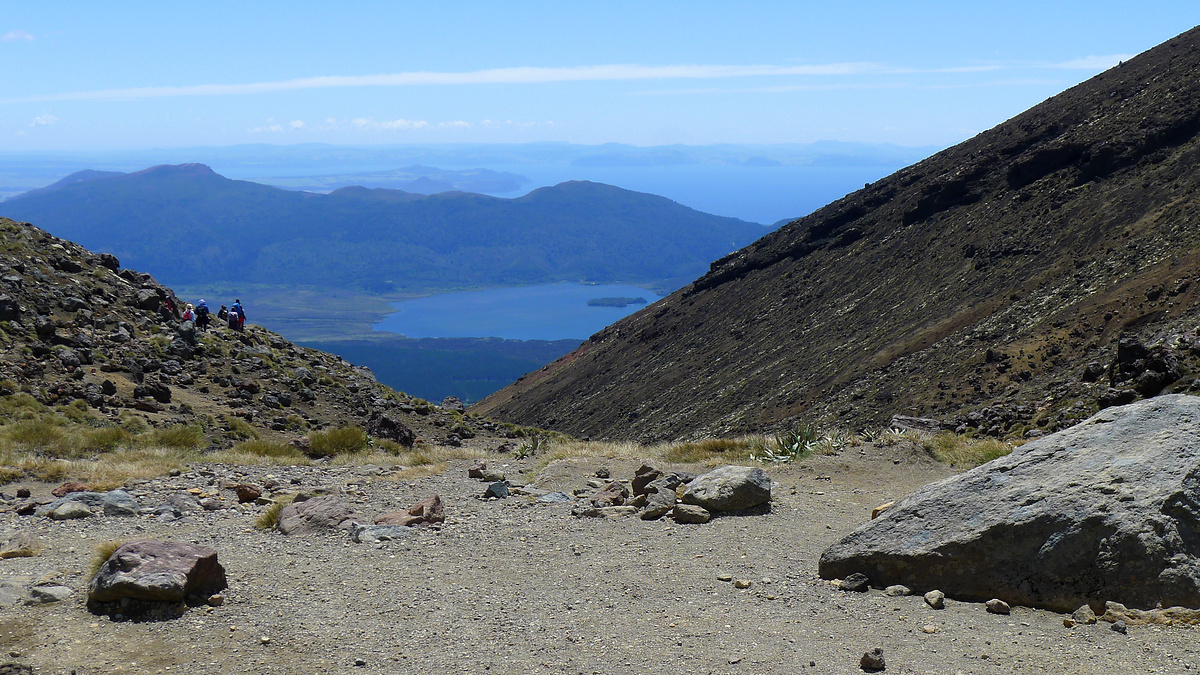
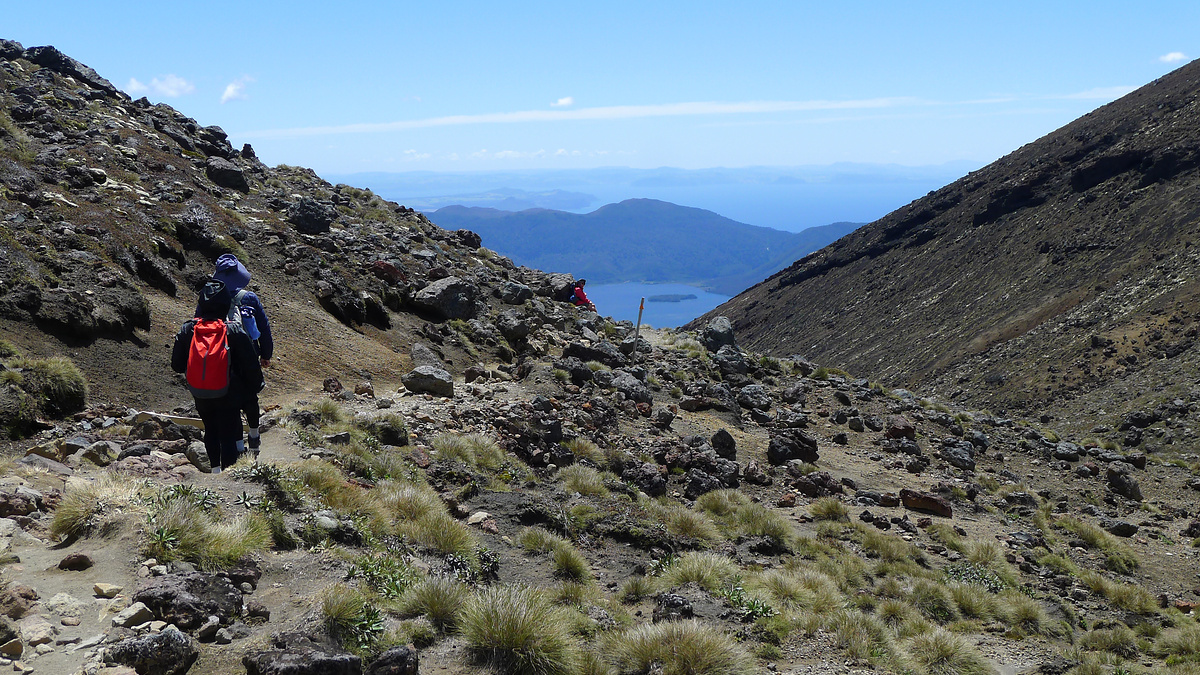
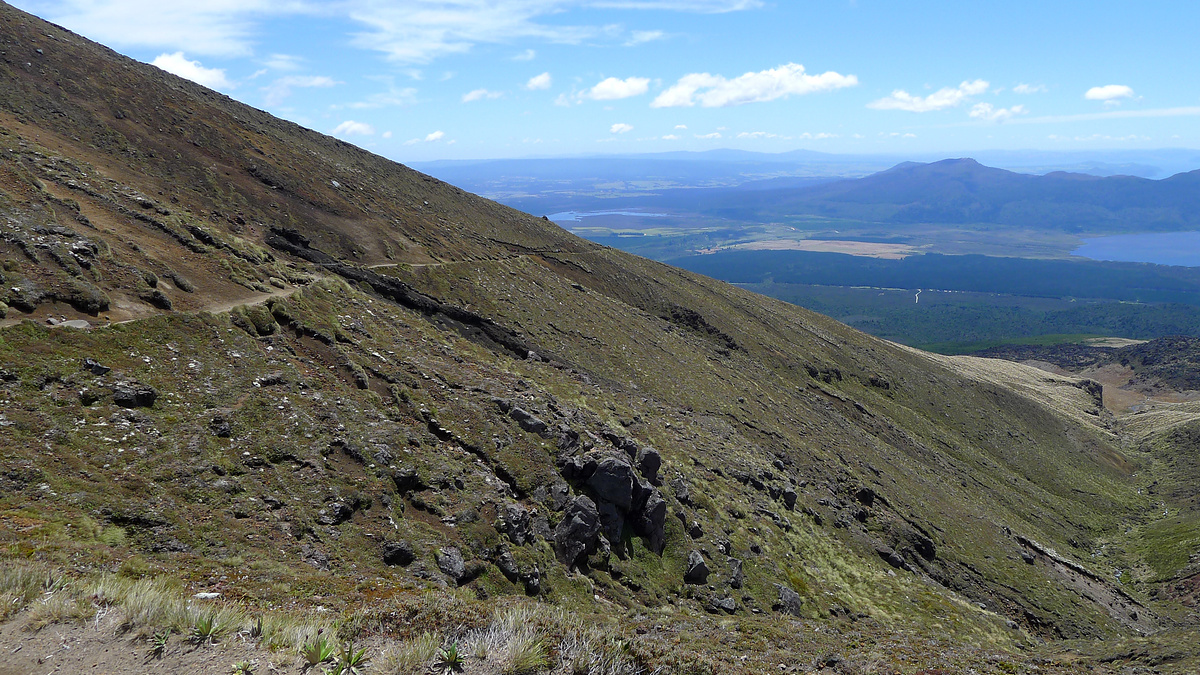
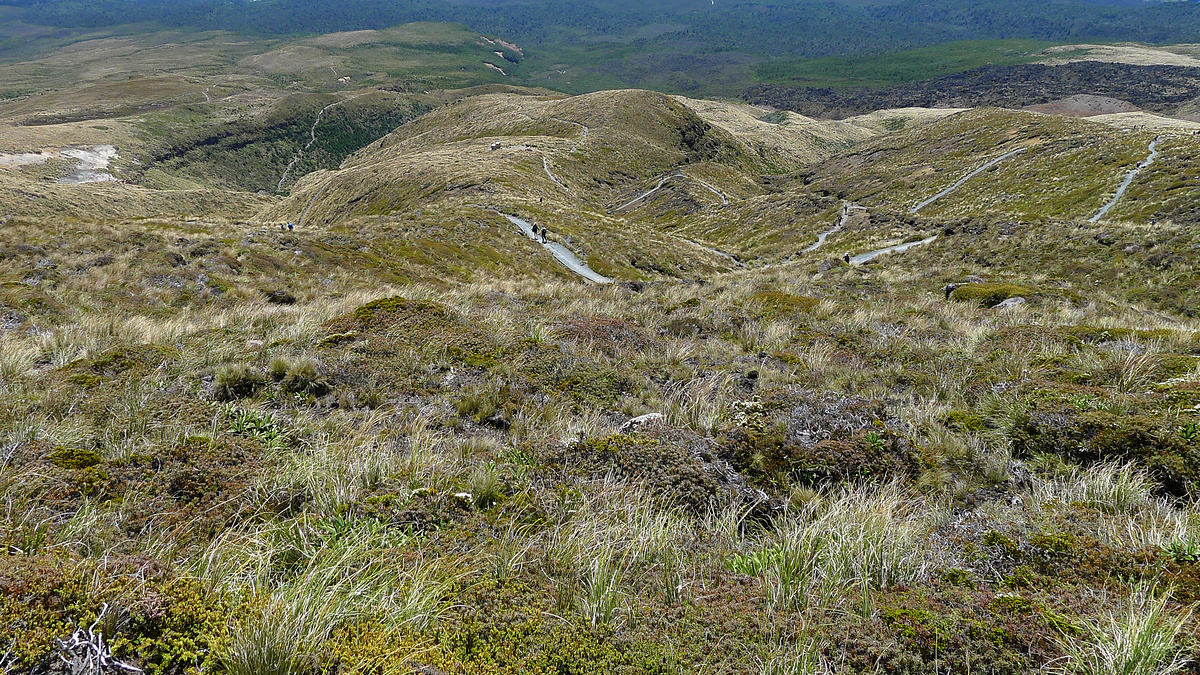
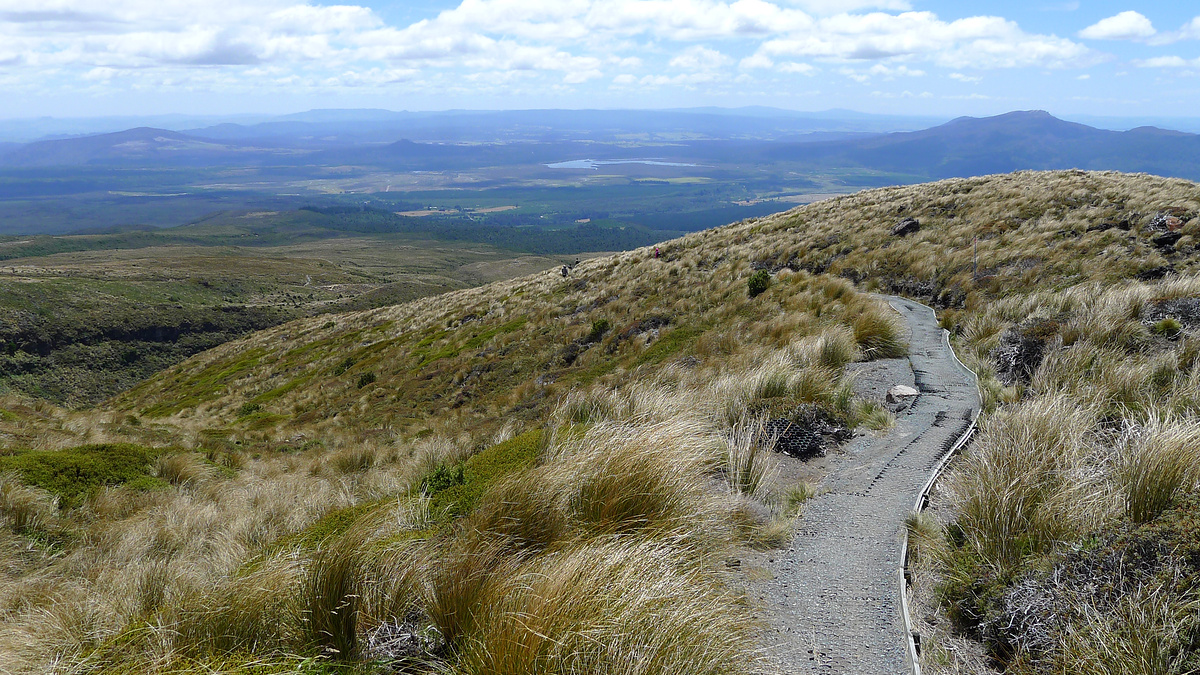
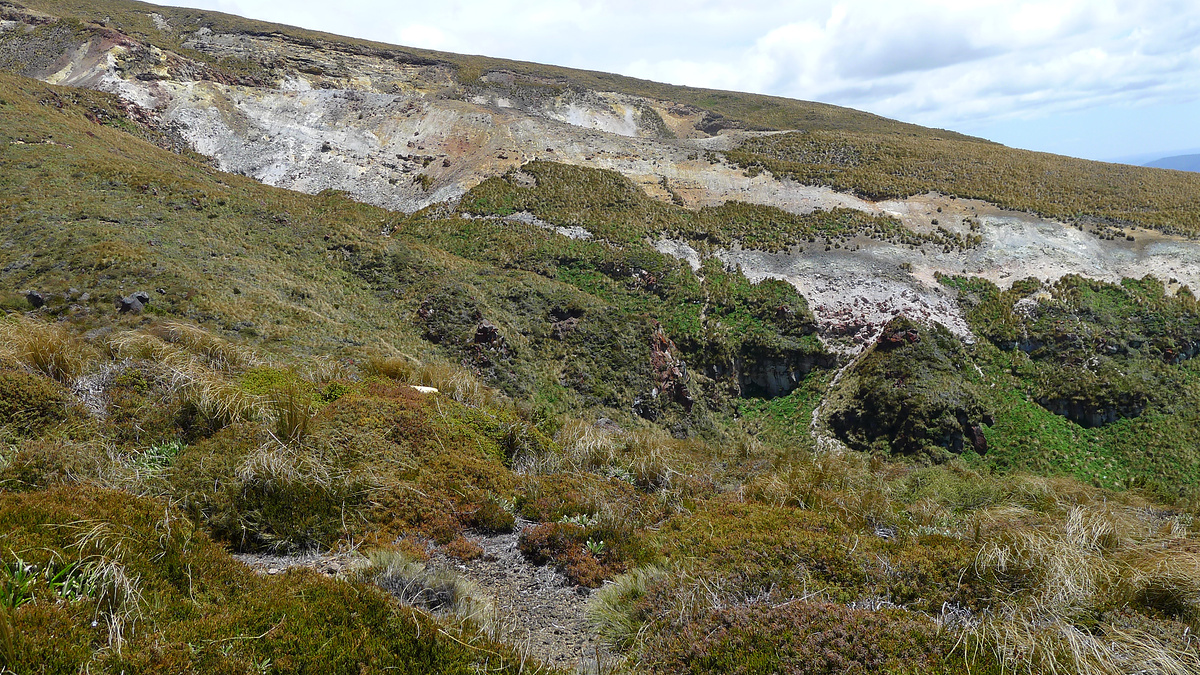
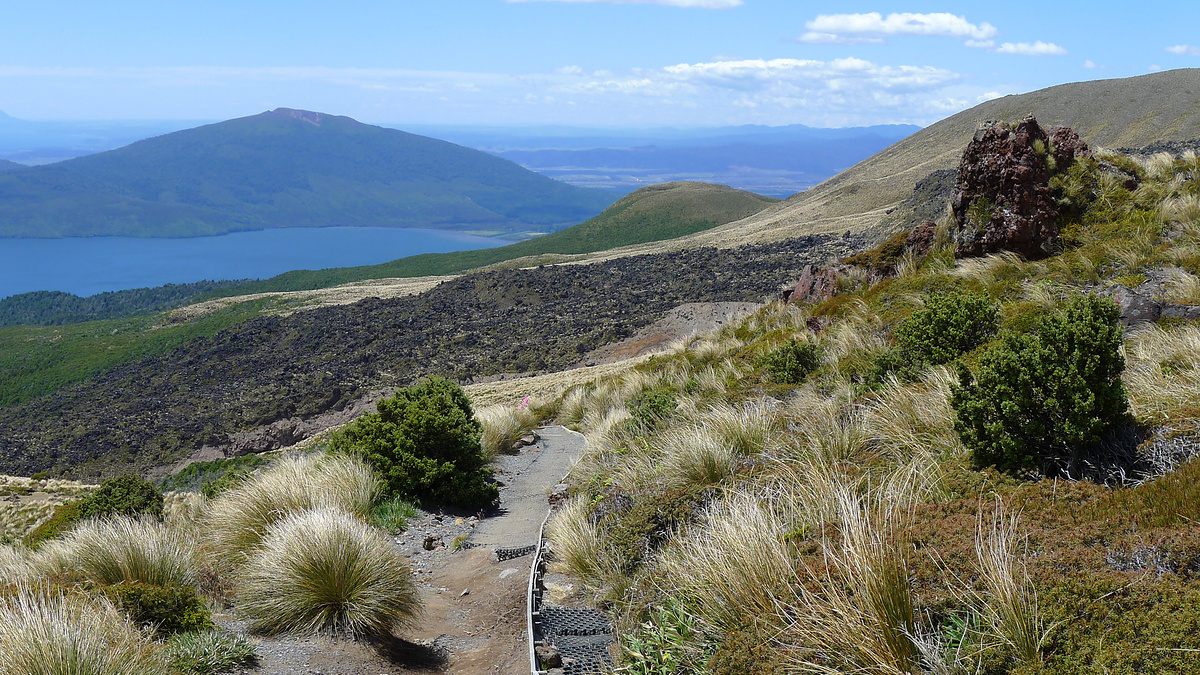
Ketetahi Track
Past Blue Lake the trail turns into a bit of a slog. There’s still 9km to go – nearly half the total distance of the hike – and it’s all downhill, going from an elevation of 1,731m at Blue Lake down to 760m at the Ketetahi car park.
It’s not that bad, though. The views of Lakes Rotoaira and Taupo are great, and the signage at the old Ketetahi Shelter tells an interesting story about the partial destruction of the Ketetahi Hut during the 2012 eruption from Te Māri Crater.


How to do it yourself
Brief
- Give yourself a chance to wait for a good weather day
- Use a shuttle service for transport
01. Give yourself a chance to wait for a good weather day
The weather on the mountain is extremely changeable, and it’s often not suitable for hiking. (See here for forecasts)
If you’ve only got one day on which you can do the hike, you might be lucky and get a good weather day.
Your chances get better if you’re able to stay in the area for a few days and have a flexible itinerary.
And there are plenty of other things to do around Tongariro besides the crossing. For example, the Tama Lakes track is another extremely scenic walk, and works well as an alternative if the weather isn’t suitable for the Tongariro Alpine Crossing.
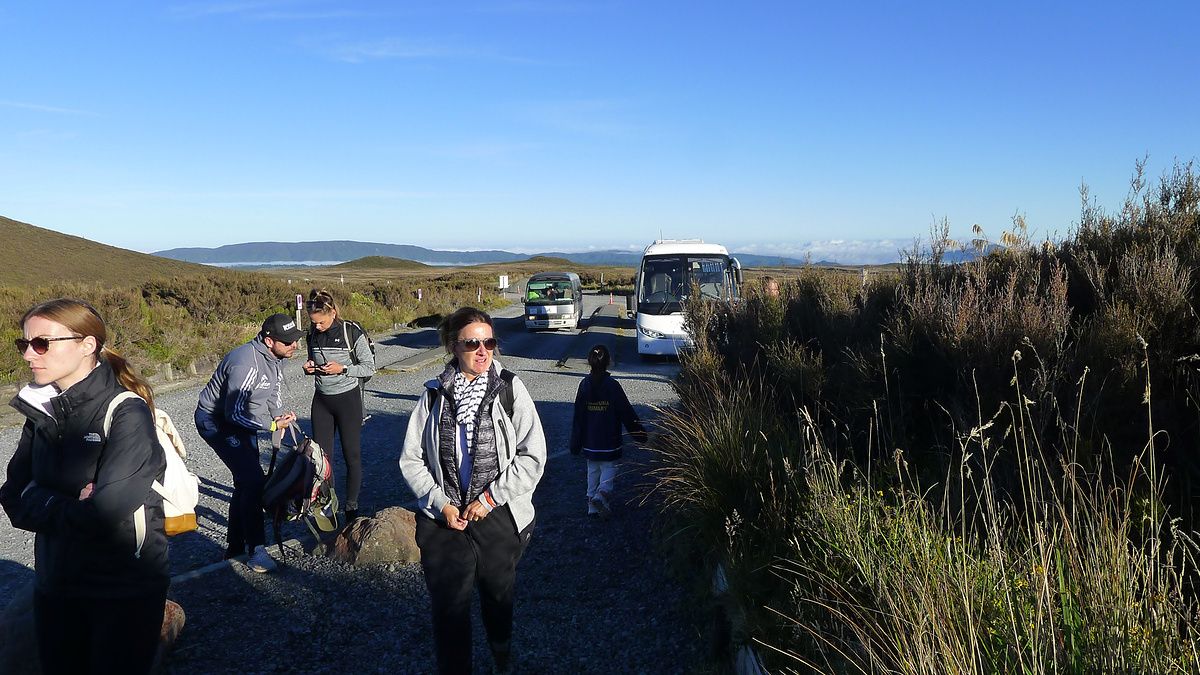
02. Use a shuttle service for transport
A shuttle service will drop you off at the Mangatepopo car park and pick you up on the other side at Ketetahi.
You can also ask them for advice on weather and which day might be the best one for your hike.
Use a shuttle service saves a lot of hassle—no worries about time limits at the car parks or having to drive while tired after a big hike, and you can sleep and/or snack on the bus, too. We had been staying in Ohakune and booked with Dempsey Buses, who offered a 7am departure from Ohakune.
Shuttle service tip #1: go for an early departure so you can get on the trail as early as possible.
Shuttle service tip #2: you won’t be able to leave anything on the shuttle and you should pack in enough water for the hike as well as the ride home—there aren’t any stops at shops.
Shuttle service tip #3: if you’re not sure which shuttle service to use, the local isite might be able to offer a recommendation. That’s how we found out about Dempsey Buses.
Links, etc.
- Tongariro National Park on Wikipedia
- Tongariro National Park on the DOC website
- Tongariro Alpine Crossing trail info on the DOC website
- Red Crater weather station on the NIWA website
- Te Māri craters 2012 eruption info and video on GeoNet
- Dempsey Buses Tongariro shuttle service
- isite locations and contact info